DIY Wedding To-Do List: How to Stay Organized and Stress-Free
Share
Planning a DIY wedding can be incredibly rewarding, but it also comes with a lot of moving parts. If you’re anything like me, you want to make sure nothing slips through the cracks while still enjoying the process. To help you out, I’ve put together a DIY wedding to-do list that covers all the bases. Whether you’re just starting to plan or you’re in the thick of it, this list will help you stay organized and stress-free.
The Ultimate DIY Wedding To-Do List
1. Set Your Budget
- Determine Total Budget: First things first—figure out how much you’re willing to spend on your wedding. This will guide all your decisions moving forward.
- Allocate Funds: Break down your budget by category (venue, catering, decor, etc.) so you know how much you can spend in each area.
2. Create Your Guest List
- Draft Initial List: Start with a rough draft of everyone you want to invite. This will help you choose a venue that can accommodate your guests.
- Finalize Numbers: Once you’ve got a handle on your budget, finalize your guest list. Remember, the more people you invite, the higher the costs.
3. Choose a Venue
- Research Options: Look for venues that fit your style, budget, and guest count. Don’t forget to consider outdoor spaces if that’s your vibe.
- Book the Venue: Once you’ve found the perfect spot, book it ASAP to lock in your date.
4. Plan Your Ceremony and Reception
- Decide on a Theme: Whether it’s rustic, modern, or vintage, pick a theme that reflects your personality as a couple.
- Organize Decor: Start gathering ideas and materials for your decor. Think about what you can DIY versus what you might need to purchase or rent.
5. Book Vendors
- Research and Reach Out: Find vendors that match your budget and style. This includes photographers, caterers, florists, and DJs or bands.
- Confirm and Contract: Once you’ve found your vendors, confirm their availability and get everything in writing. Contracts are your best friend here.
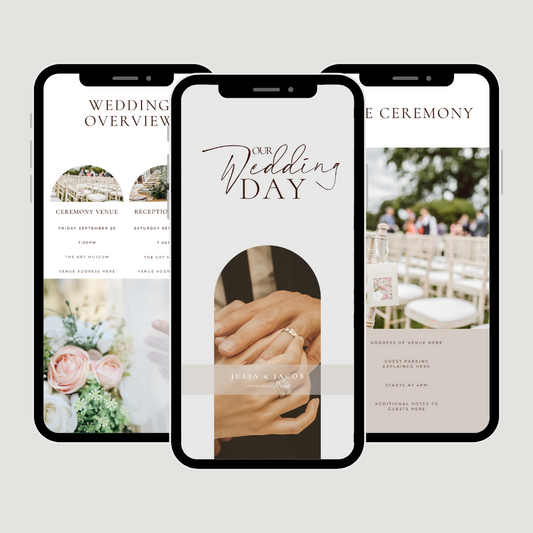
6. Create Your Wedding Website
- Set Up the Basics: Your wedding website is a great way to keep guests informed. Include details like the date, location, registry, and accommodation options.
- Keep It Updated: As you finalize details, make sure your website is up to date. It’s an easy way to share info without sending a million emails.
7. Design and Send Invitations
- Create Your Invites: Whether you’re going the DIY route with invitations or ordering them, make sure they align with your theme and budget.
- Mail Invitations: Aim to send out invitations 6-8 weeks before the wedding. Don’t forget to include RSVP instructions!
8. Plan the Ceremony
- Choose Your Officiant: Whether it’s a friend, family member, or professional, make sure they’re on board and know your vision for the ceremony.
- Write Vows: If you’re writing your own vows, start early. This gives you time to reflect and perfect what you want to say.
9. Organize the Reception
- Plan the Menu: Whether you’re hiring a caterer or DIYing the food, finalize your menu early. Don’t forget about special dietary needs.
- Arrange Seating: Start thinking about your seating chart. Who’s sitting with who can make a big difference in the vibe of your reception.
10. DIY Wedding Decor
- Gather Materials: Start collecting everything you need for your DIY projects. This might include crafting supplies, flowers, or even furniture.
- Schedule Crafting Time: DIY projects take time, so set aside dedicated days to work on them. Enlist friends or family to help if you can.
11. Final Countdown
- Confirm with Vendors: A week or two before the wedding, touch base with all your vendors to make sure everything is on track.
- Pack the Essentials: Pack an emergency kit with things like safety pins, pain relievers, makeup touch-ups, and anything else you might need on the day.
12. Prepare for the Day Of
- Create a Timeline: Draft a detailed timeline for the day. Include everything from getting ready in the morning to the last dance at the reception.
- Assign Tasks: Make sure everyone involved in the wedding—whether it’s your wedding party, family, or friends—knows their responsibilities.
Tools to Keep You Organized
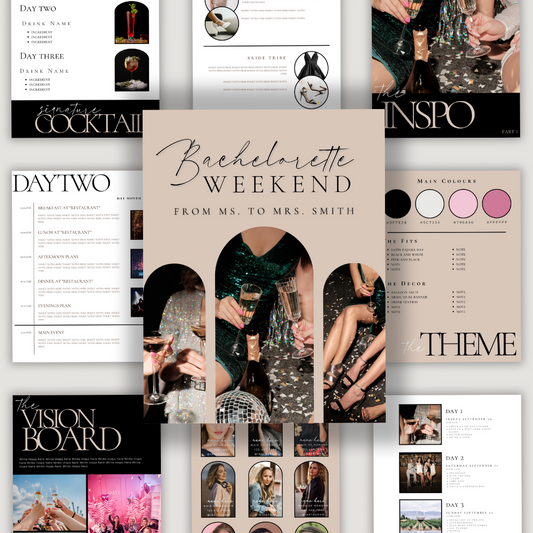
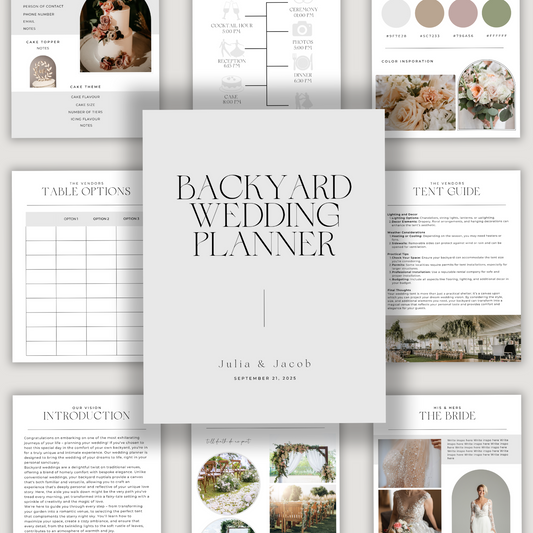
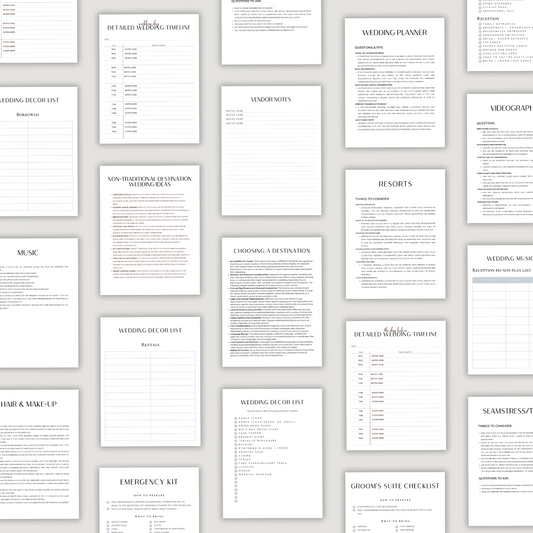
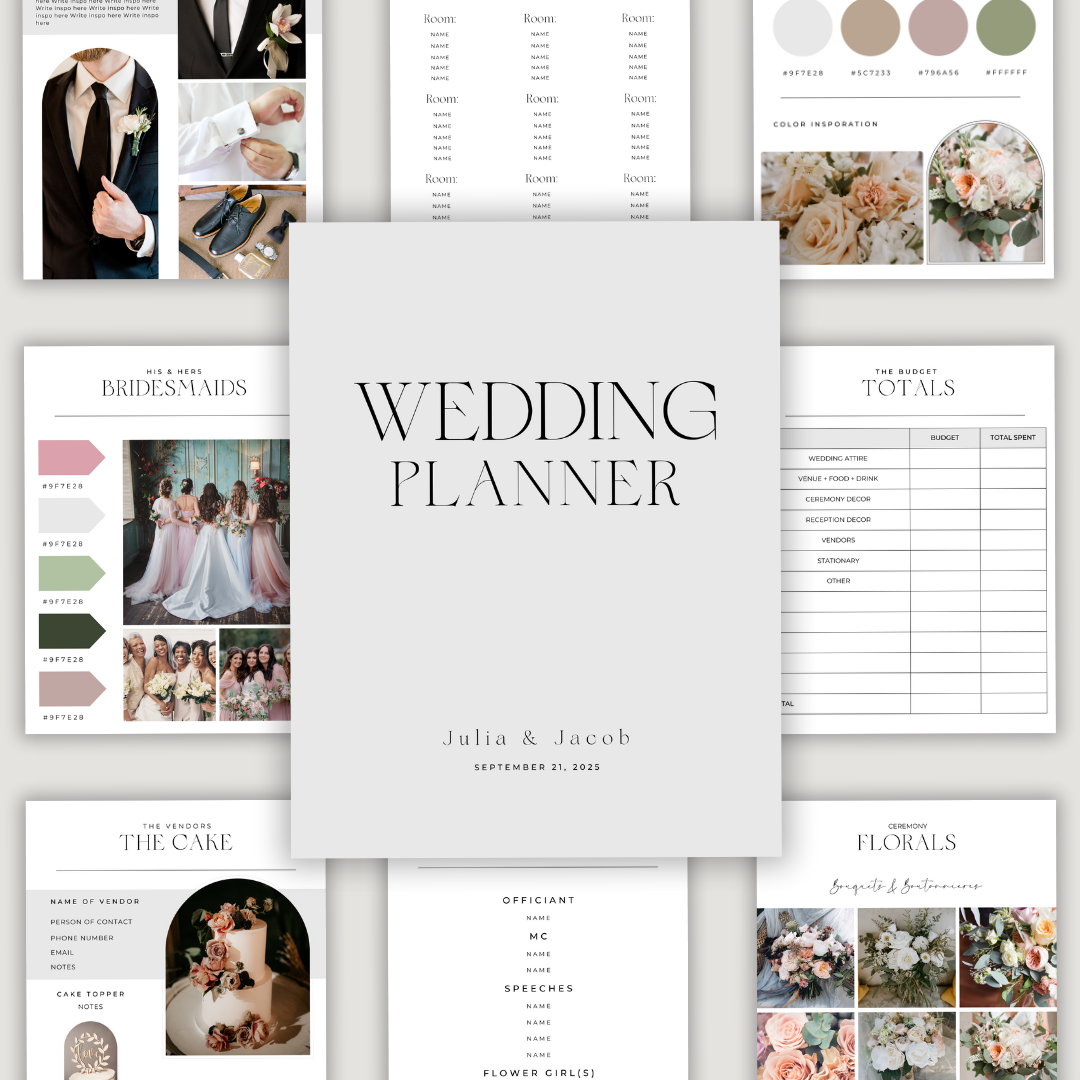
Planning a DIY wedding can be a lot, but it doesn’t have to be overwhelming. The right tools can make all the difference. I used the Wedding Planner from My Digital Darling, and it was a total lifesaver.
Why the Wedding Planner is a Must-Have
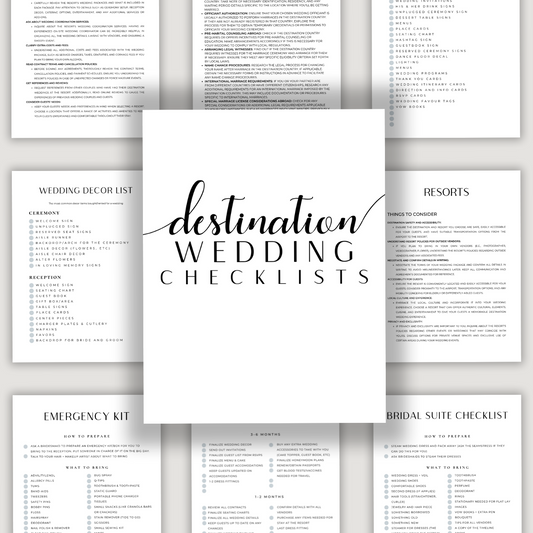
- Detailed Checklists: The planner has checklists for everything, which helped me stay on top of tasks and deadlines.
- Budget Tracker: This tool kept my spending in check, making sure I didn’t go overboard.
- Vendor Management: All my vendor info was in one place, which made it easy to keep track of contracts, payments, and communication.
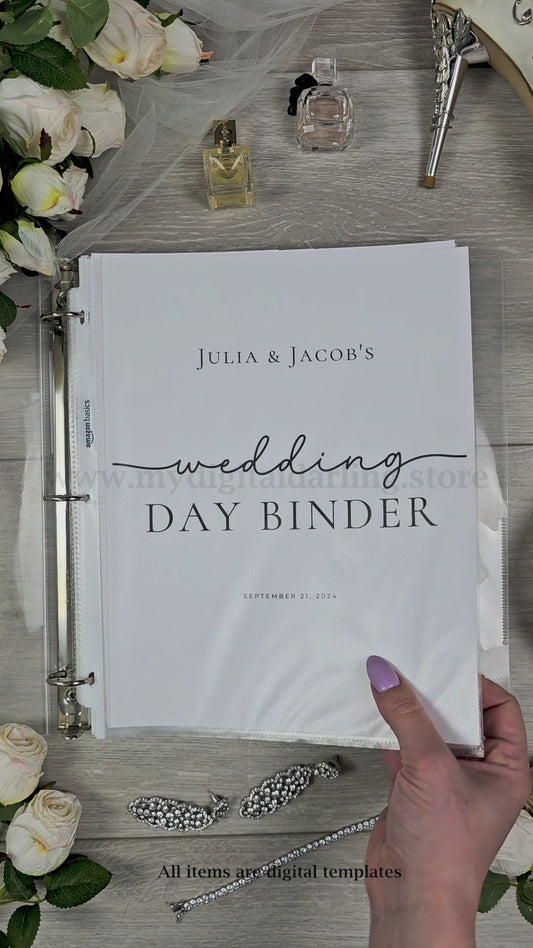
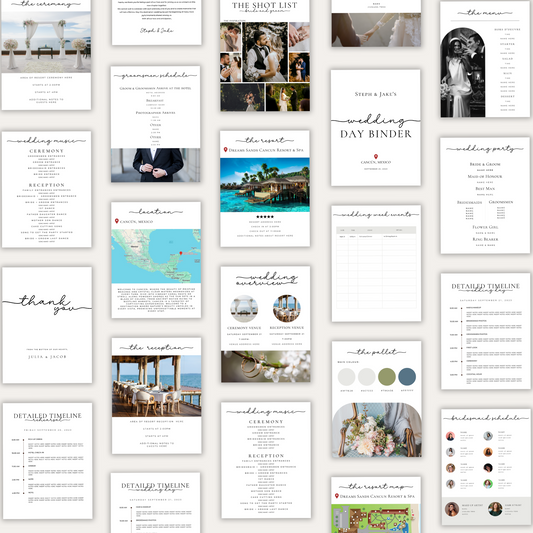
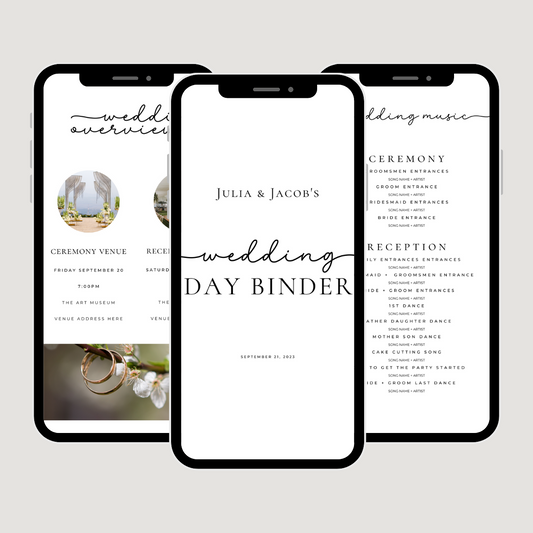
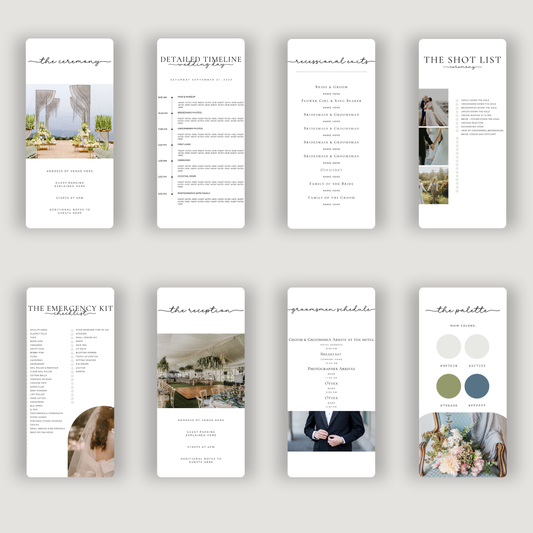
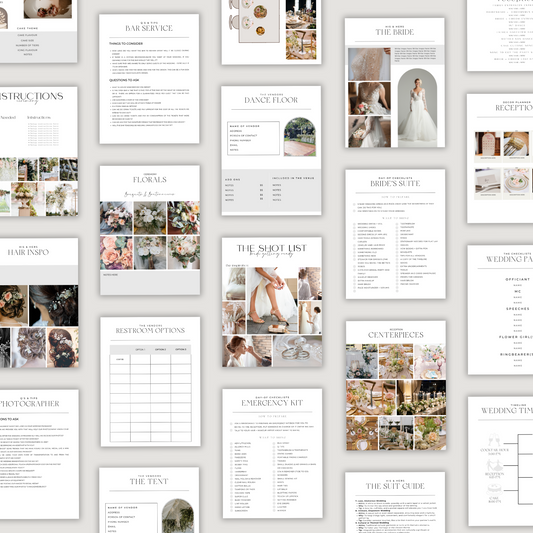
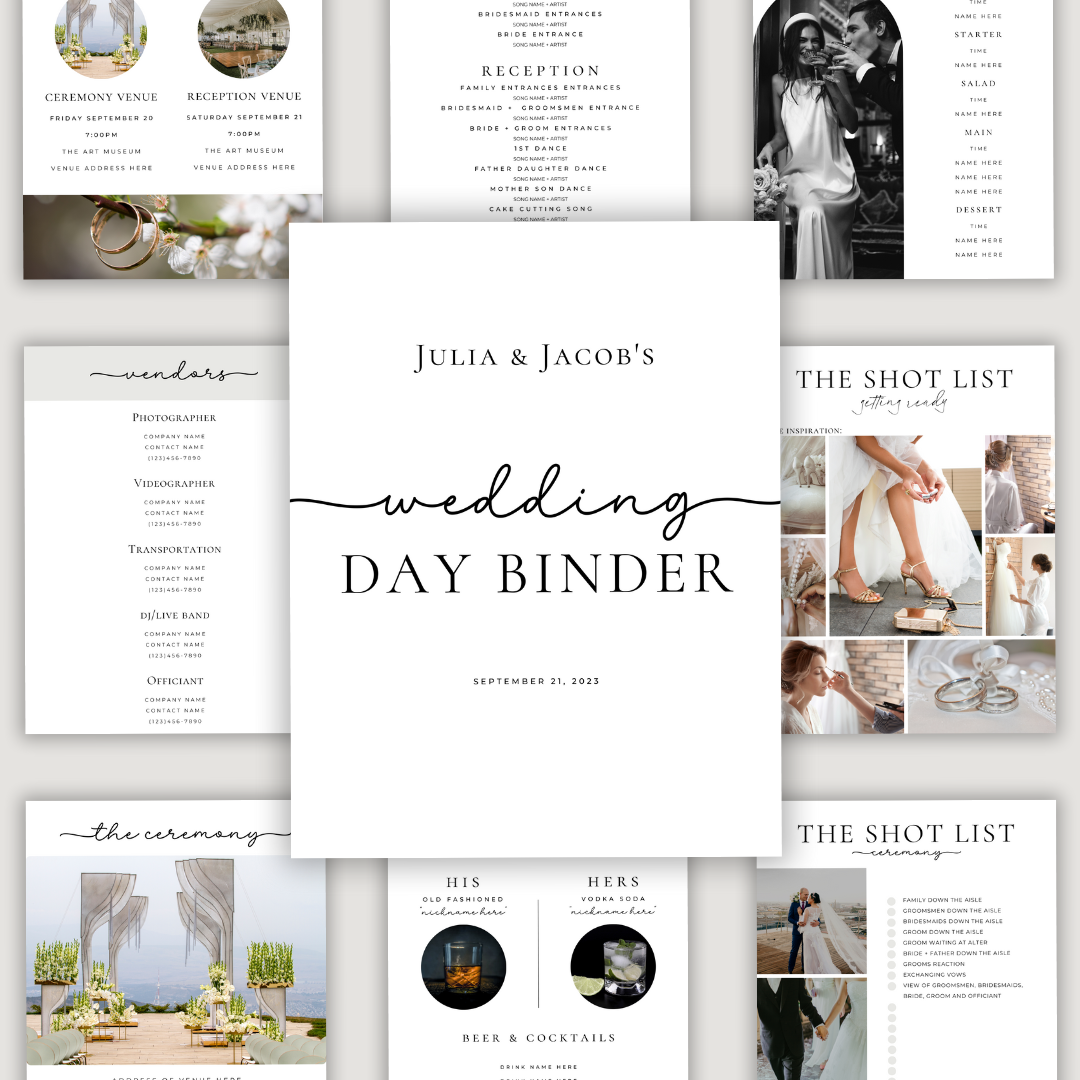
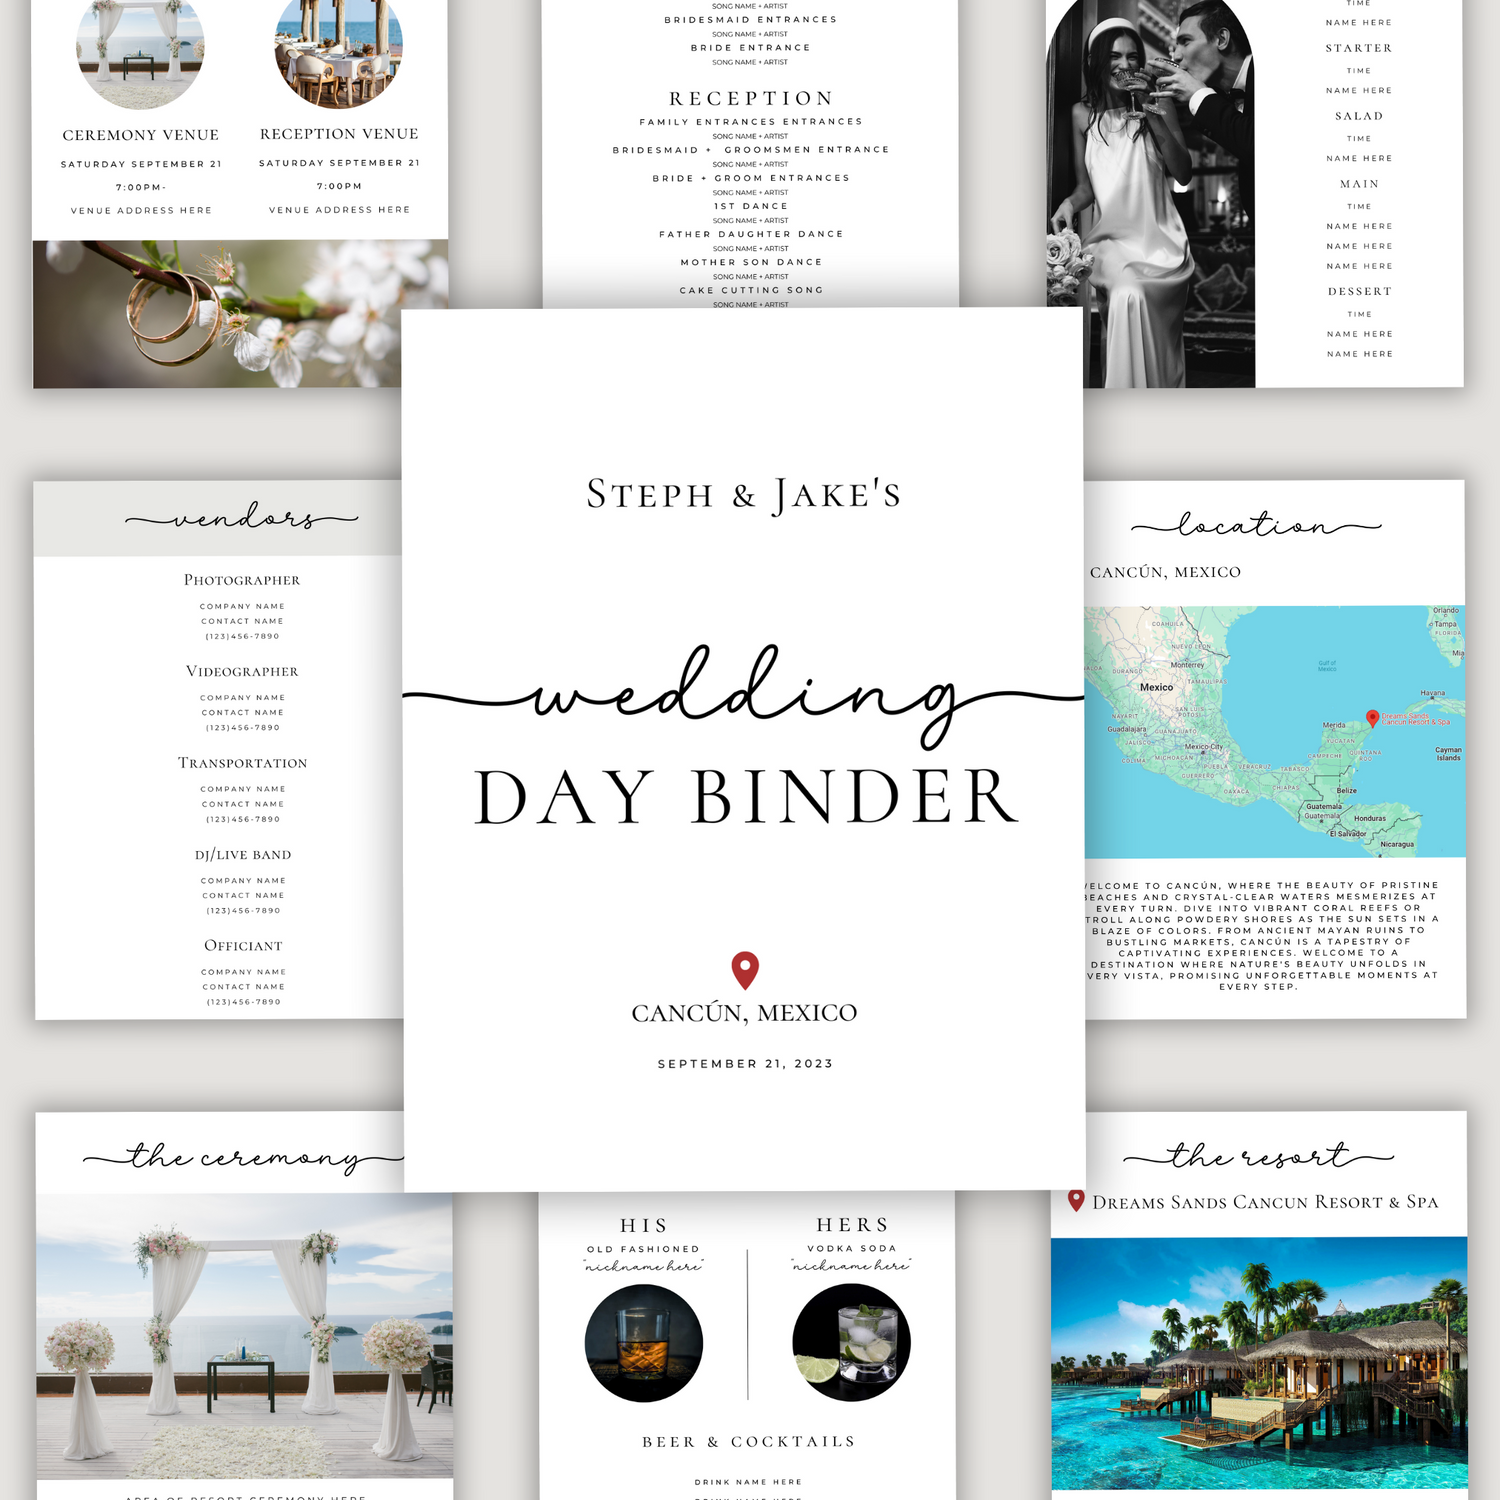
And let’s not forget about the Wedding Day Binder. This binder was essential for the actual wedding day.
How the Wedding Day Binder Helped
- Day-of Timeline: It had a detailed timeline that kept everything running smoothly.
- Vendor Contacts: Having all the contact info in one spot was a lifesaver in case anything came up.
- Decor Setup: The binder made it easy to ensure all my DIY decor was set up exactly how I wanted it.
Final Thoughts
Planning a DIY wedding is definitely a big project, but with a solid to-do list and the right tools, it’s totally doable—and even fun! Stay organized, give yourself plenty of time, and most importantly, enjoy the process. This is your big day, and it should be everything you’ve dreamed of. Happy planning!