DIY Wedding with a Cricut: How to Create Beautiful, Personalized Details
Share
If you’re planning a DIY wedding, chances are you’re looking for ways to add personal touches to your big day while keeping things budget-friendly. Enter the Cricut—this little machine is a game-changer for crafting all sorts of wedding details that are both beautiful and unique. Whether you’re new to Cricut or a seasoned pro, I’m here to share some tips and ideas for making the most of it for your wedding.
Why Use a Cricut for Your DIY Wedding?
First things first—why should you consider using a Cricut for your DIY wedding? Here’s the deal:
- Customization: A Cricut allows you to create personalized decor, favors, signage, and more, all tailored to your wedding theme and colors.
- Cost-Effective: Instead of paying for expensive custom items, you can make your own for a fraction of the cost.
- Versatility: The Cricut can cut a wide variety of materials, from paper and vinyl to fabric and leather, giving you endless possibilities for your wedding projects.
Cricut Wedding Project Ideas
Ready to get crafty? Here are some of my favorite DIY wedding projects you can create with a Cricut.
1. Custom Invitations
Designing your own wedding invitations with a Cricut is a fantastic way to add a personal touch right from the start. You can cut intricate designs, add foil accents, or even create pocket invitations that wow your guests before they even open the envelope.
- Materials: Cardstock, vinyl, foil transfer sheets
- Tips: Use the Cricut Design Space to find or create templates that match your wedding theme. Layer different textures and colors for a truly unique invitation.
2. Personalized Wedding Signs
Wedding signs are a must for guiding your guests and adding to the overall decor. With a Cricut, you can easily make everything from welcome signs to seating charts and directional signs.
- Materials: Wood, acrylic, vinyl
- Tips: Use vinyl for clean, crisp lettering on wood or acrylic signs. You can also add painted accents or floral embellishments to tie the signs into your wedding’s aesthetic.
3. Table Numbers and Place Cards
Give your reception tables a custom look with Cricut-made table numbers and place cards. Whether you go for elegant, minimalist designs or something more elaborate, your guests will appreciate the attention to detail.
- Materials: Cardstock, acrylic, wood
- Tips: For a cohesive look, match the style of your table numbers and place cards to your invitations and other signage. Use metallic or glitter cardstock for a touch of glam.
4. DIY Wedding Favors
Send your guests home with a personalized favor that doubles as a keepsake. With a Cricut, you can create custom labels, tags, or even engrave small items like keychains or ornaments.
- Materials: Vinyl, paper, wood, glass
- Tips: Personalize favors with your names, wedding date, or a meaningful quote. Consider using your Cricut to make matching favor boxes or bags.
5. Decorative Elements
From cake toppers to banners and garlands, your Cricut can help you create stunning decorative elements that will make your wedding venue look incredible.
- Materials: Paper, cardstock, fabric, wood
- Tips: Use glitter or metallic cardstock for cake toppers that sparkle. For banners and garlands, consider using fabric or felt for a softer, more elegant touch.
6. Wedding Attire Accents
Yes, you can even use your Cricut to add special touches to your wedding attire! Think custom iron-on decals for robes, jackets, or even shoes. It’s a fun way to add a personal flair to what you and your bridal party wear on the big day.
- Materials: Iron-on vinyl, fabric, leather
- Tips: Create custom monograms or fun phrases for getting-ready robes or jackets. Just make sure to test on a scrap piece of fabric first to get the settings right.
Tips for Success with Your Cricut
To make sure your DIY projects turn out exactly how you envision them, here are a few tips I’ve picked up along the way:
- Start Early: Give yourself plenty of time to design, cut, and assemble your projects. Some things might take longer than expected, especially if you’re new to Cricut.
- Practice First: If you’re trying something new, do a test run with cheaper materials before moving on to the real deal. This way, you can perfect your technique and avoid wasting supplies.
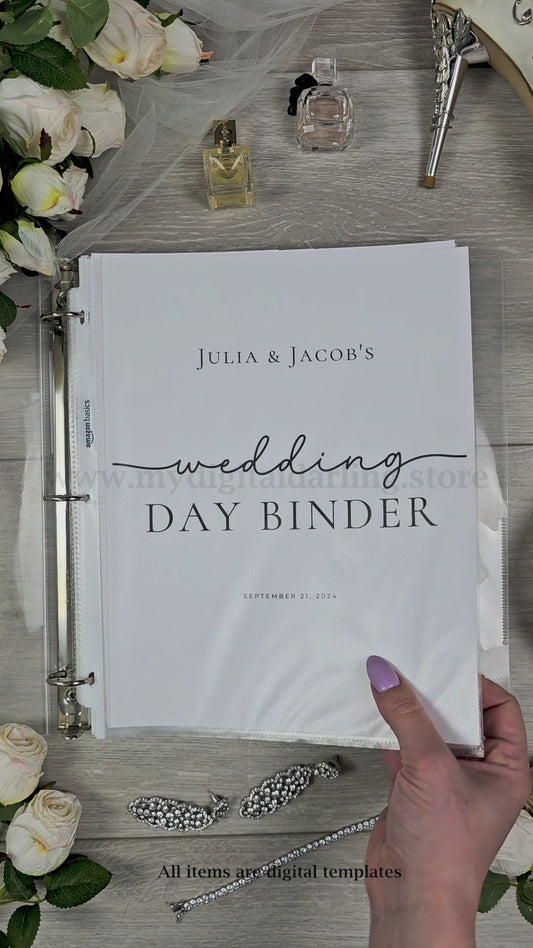
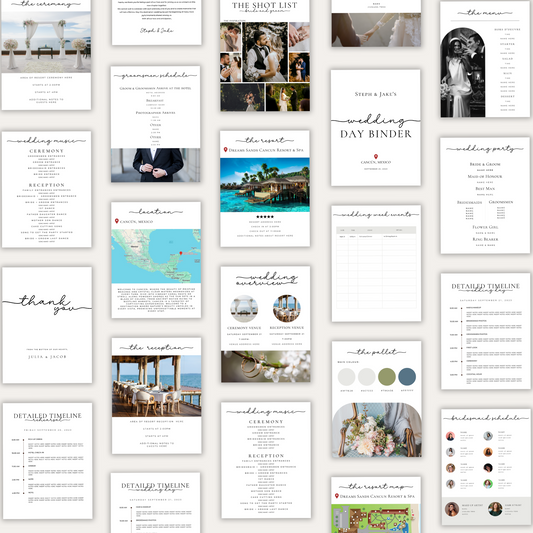
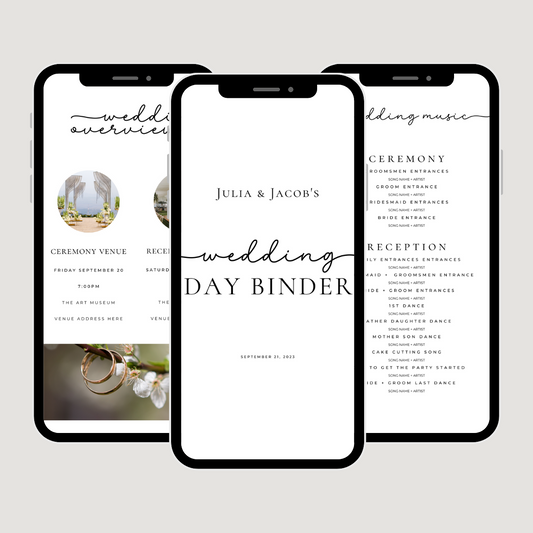
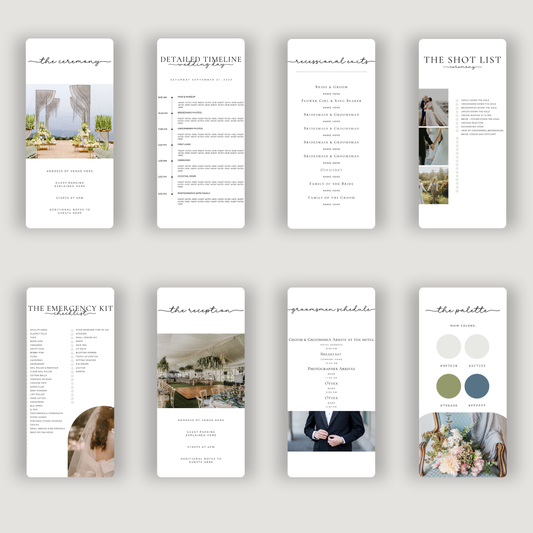
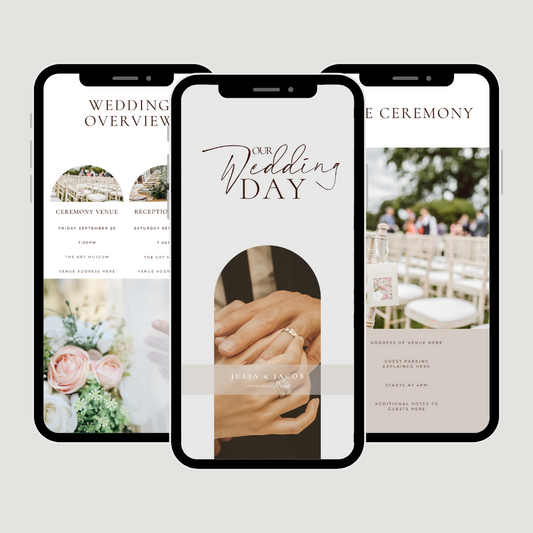
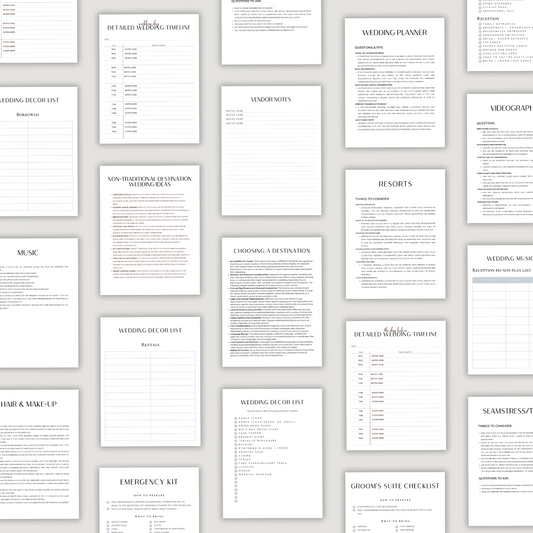
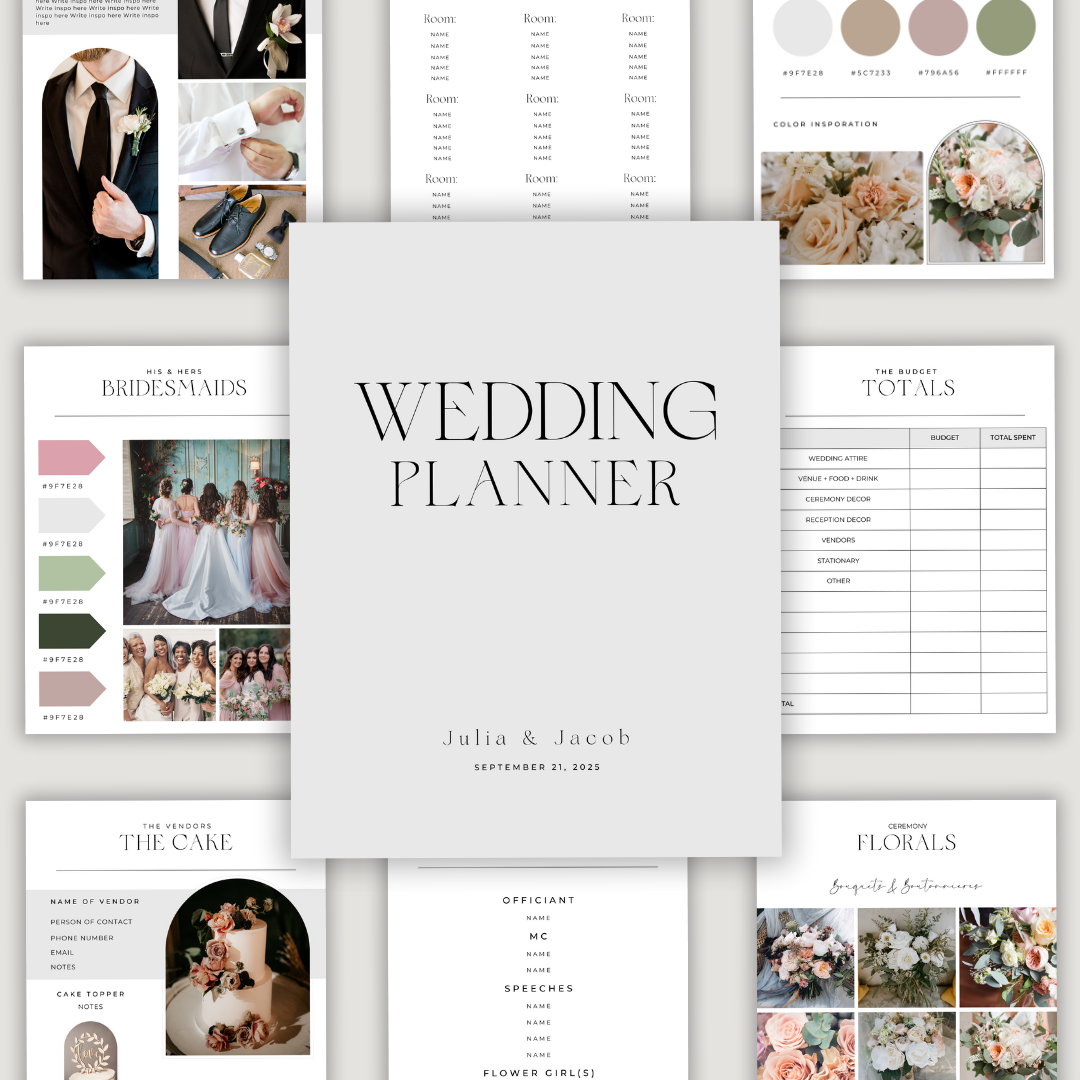
- Stay Organized: Keep track of your projects and materials in a planner or binder. The Wedding Planner from My Digital Darling is perfect for this—it has sections for all your wedding details, so you stay on top of everything.
- Get Creative: Don’t be afraid to think outside the box! The Cricut is incredibly versatile, so use it to bring all your creative ideas to life.
Making Your DIY Wedding Less Stressful
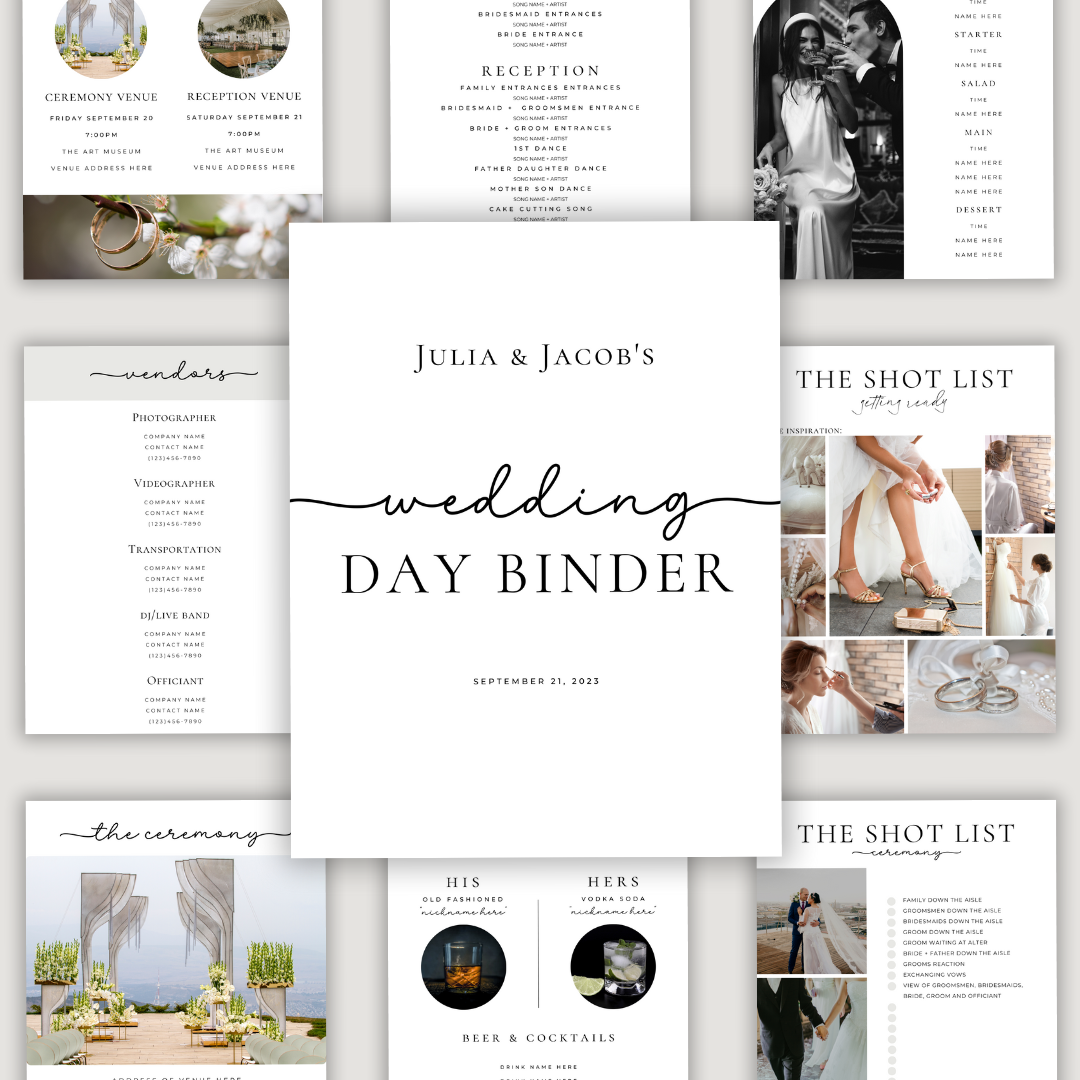
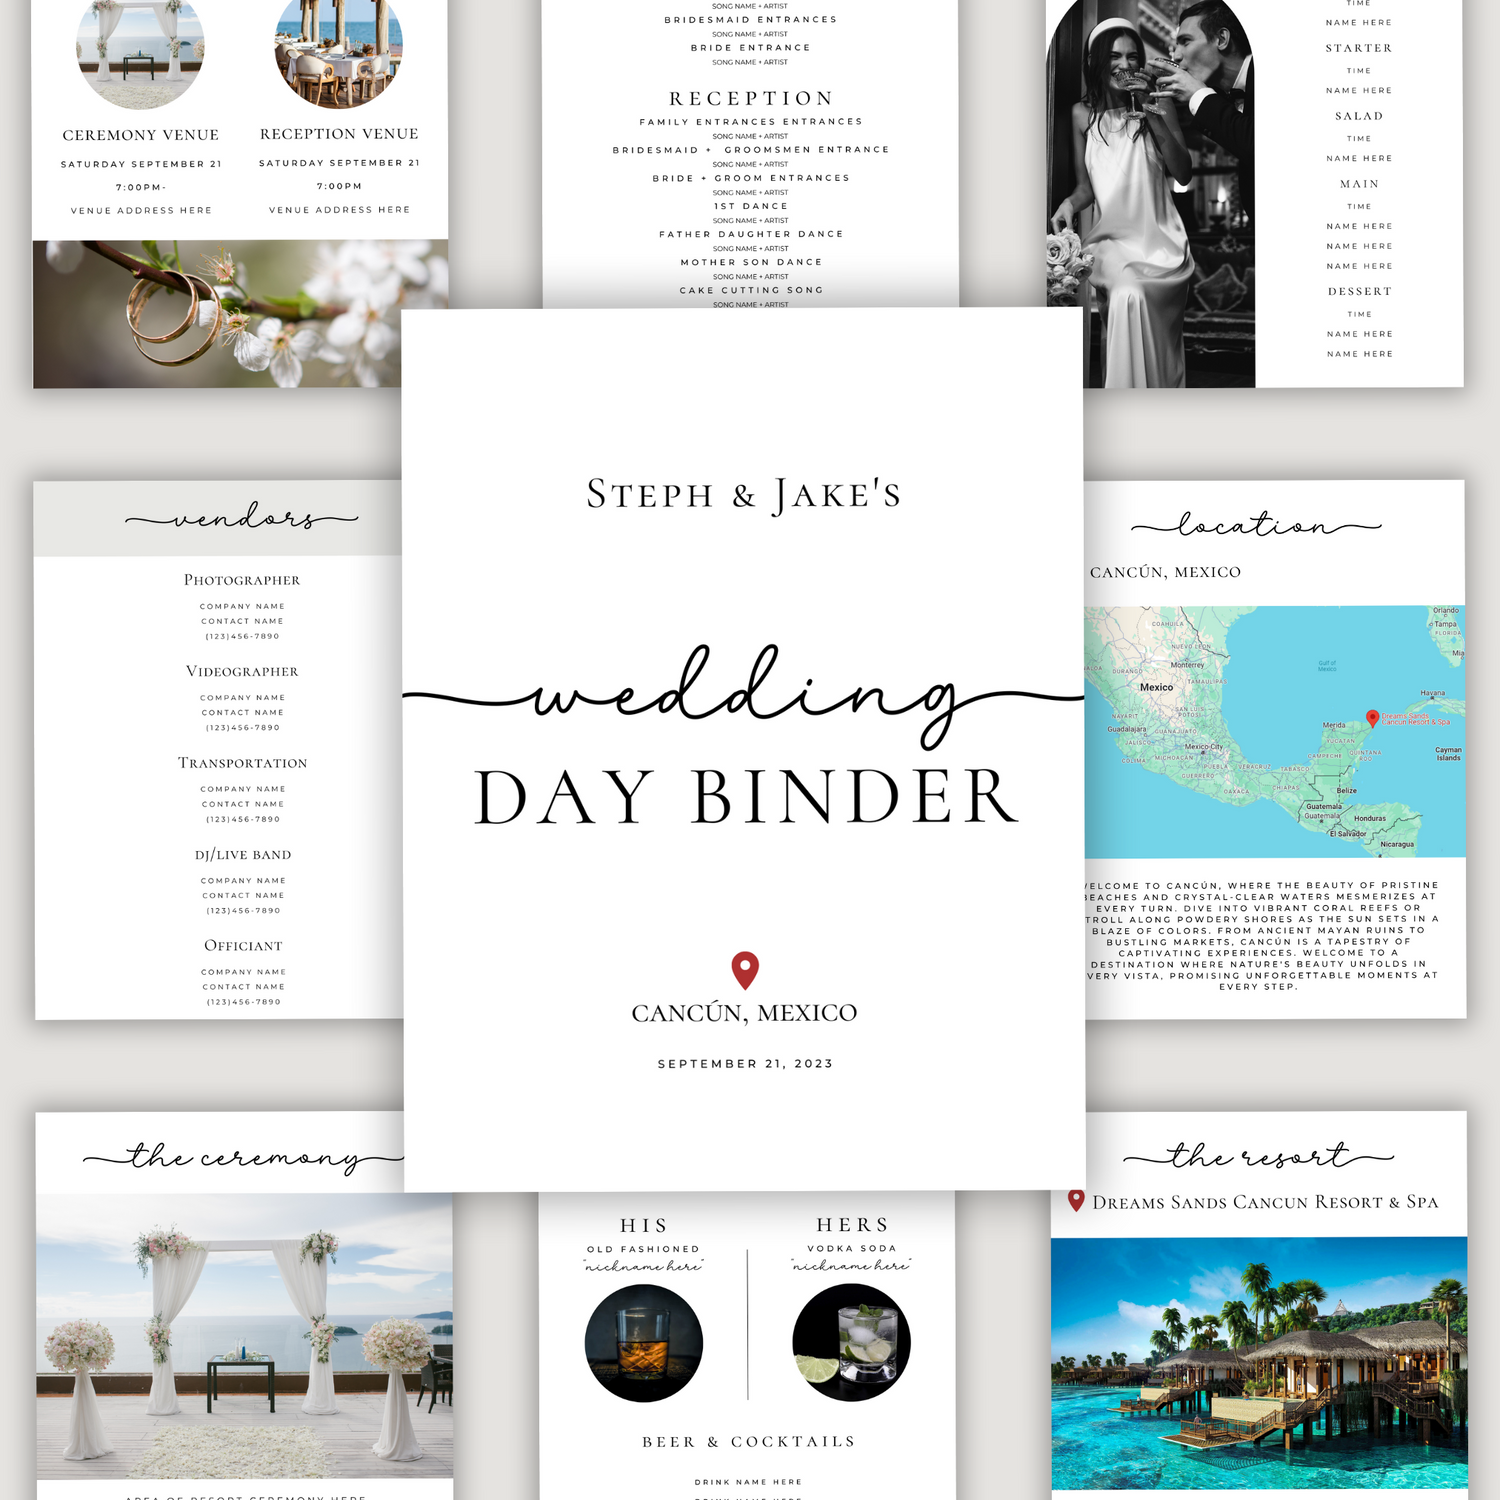
As much as I love a good DIY project, I know it can get a bit stressful, especially when there’s a lot to juggle. That’s why I swear by the Wedding Day Binder. It’s like having your wedding day organized in one place—timelines, vendor contacts, decor setup, you name it. Trust me, having this binder on hand will help you stay calm and keep everything running smoothly.
Final Thoughts
A DIY wedding with a Cricut is a fantastic way to add a personal touch to your big day while staying on budget. Whether you’re making invitations, decor, or favors, the possibilities are endless with a Cricut by your side. Just remember to stay organized, give yourself plenty of time, and most importantly, have fun with it! After all, this is your day, and it should be as special and unique as your love story. Happy crafting!