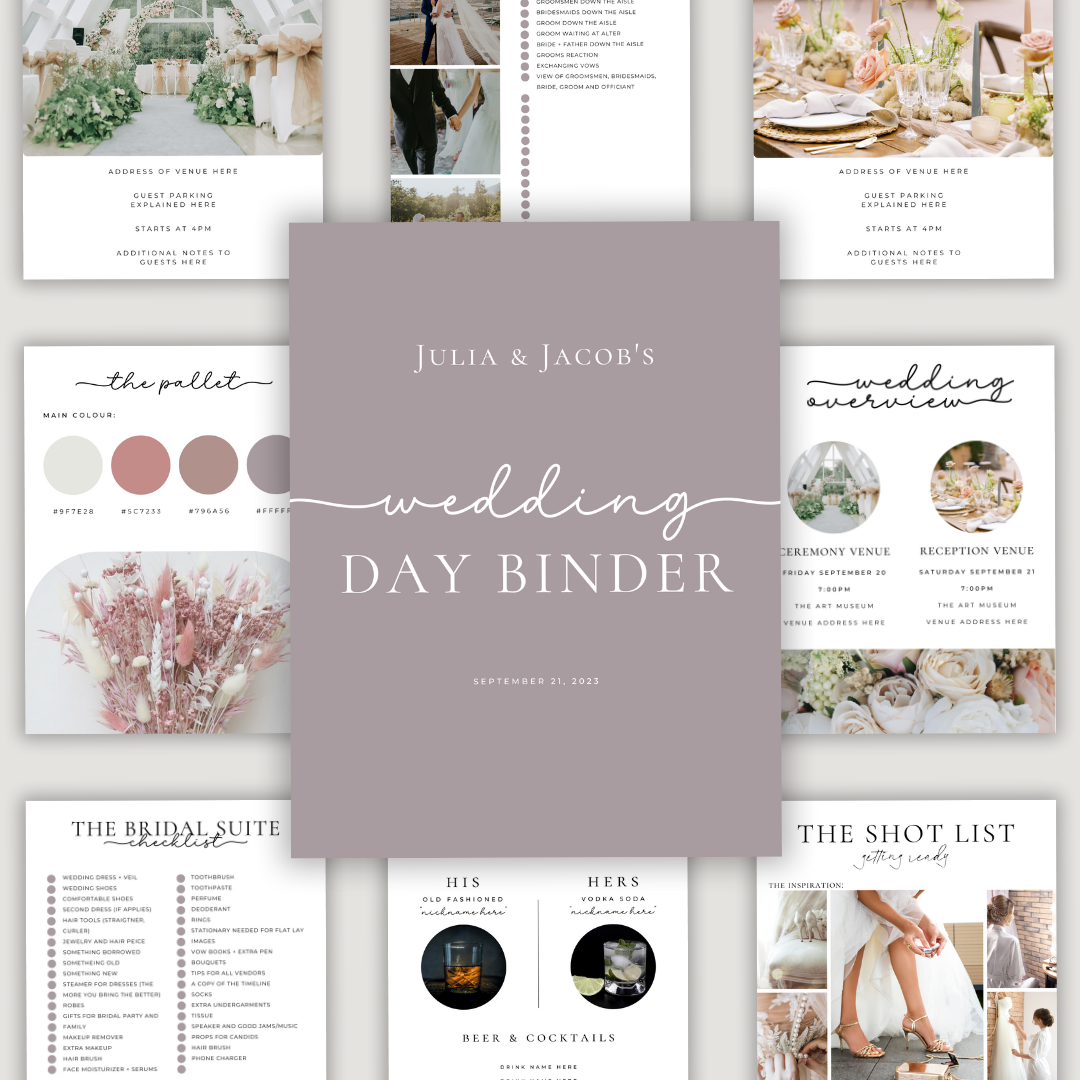
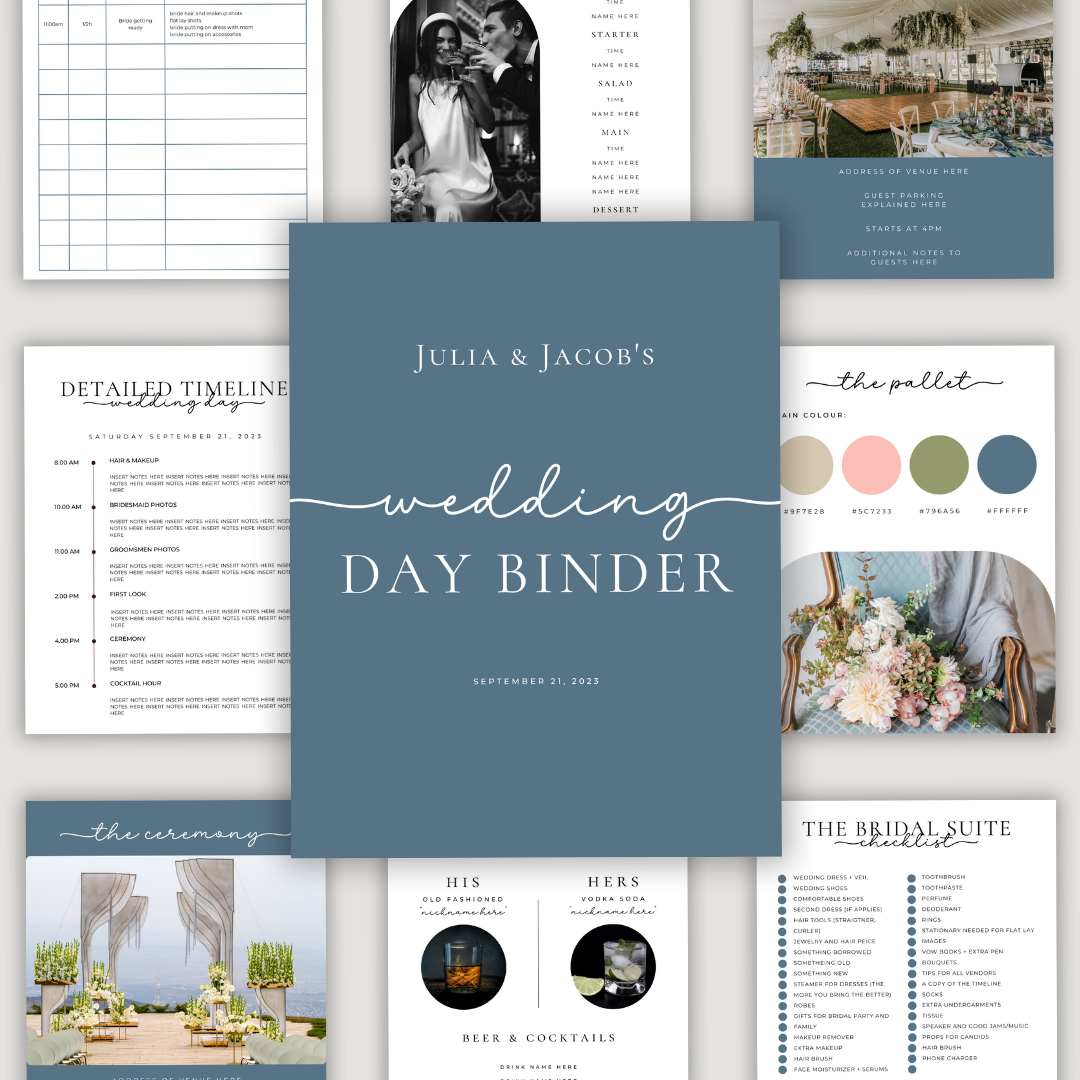
Your wedding invitations set the tone for your big day and give your guests a glimpse of what’s to come. If you’re looking for a way to personalize your wedding while saving money, creating your own DIY wedding invitations is a fantastic option. Not only can you customize every detail to match your theme, but you’ll also add a personal touch that will make your invites truly special. Here's how to DIY wedding invitations that are both beautiful and budget-friendly.
Why DIY Wedding Invitations?
Before we dive into the process, let's talk about why DIY wedding invitations might be the perfect choice for you:
- Cost-Effective: Professional invitations can be pricey, especially if you're ordering custom designs. DIY invites allow you to save on costs while still achieving a polished look.
- Personalization: DIYing your invitations gives you complete creative control. You can choose the design, colors, fonts, and materials that best reflect your wedding style.
- Creative Satisfaction: There’s something incredibly satisfying about crafting your own invitations. It’s a chance to get creative and put a personal stamp on your wedding.
Step 1: Plan Your Invitations
Choose a Design
- Inspiration: Start by gathering inspiration. Look at wedding blogs, Pinterest, and stationery websites to get ideas for your design.
- Theme and Colors: Decide on a theme and color palette that complements your wedding. This will guide your design choices.
- Design Elements: Consider what design elements you want to include, such as florals, monograms, or geometric patterns.
Decide on a Format
- Traditional Invitations: These typically include a main invitation, RSVP card, and possibly additional details like directions or a reception card.
- Modern Invitations: Opt for a single card with all the necessary information or even digital invitations if you’re tech-savvy.
- Folded or Flat: Decide if you want a folded card (which can have more space for details) or a flat card (which is simpler and often more affordable to print).
Step 2: Gather Supplies
To create your DIY wedding invitations, you’ll need some basic supplies:
- Cardstock: Choose high-quality cardstock in your desired color. Thicker paper gives a more luxurious feel.
- Printer: A good-quality inkjet or laser printer is essential for crisp, professional-looking prints.
- Envelopes: Select envelopes that match or complement your invitations. Consider adding liners for an extra touch of elegance.
- Paper Trimmer: A paper trimmer will help you cut your invitations to size with clean, straight edges.
- Glue or Double-Sided Tape: For attaching layers or embellishments.
- Ribbon or Twine: For wrapping around the invitations for a rustic or elegant look.
- Stamps or Embellishments: Consider adding wax seals, stamps, or other decorative elements to personalize your invites.
- Calligraphy Pens or Address Labels: For addressing envelopes, whether you’re doing it by hand or printing labels.
Step 3: Design Your Invitations
Use a Design Tool
- Online Platforms: Tools like Canva, Adobe Spark, or even Microsoft Word offer customizable templates and design tools that make it easy to create your invitation.
- Design Software: If you’re more experienced with design, programs like Adobe Illustrator or Photoshop provide more control over your design.
- Template Sites: Websites like Etsy or Creative Market offer downloadable invitation templates that you can customize with your own details.
Typography
- Font Selection: Choose fonts that match your wedding theme. For example, script fonts work well for elegant weddings, while sans-serif fonts are great for modern, minimalist designs.
- Readability: Ensure your text is easy to read. Combine a decorative font for headings with a simple, clean font for the main body text.
Layout
- Balance: Maintain a balance between text and design elements. Ensure there’s enough white space to avoid a cluttered look.
- Hierarchy: Use font size and weight to create a clear hierarchy of information, guiding the reader’s eye through the most important details.
Step 4: Print and Assemble
Print Test
- Test Print: Before printing the entire batch, print a few test invitations to ensure the colors, alignment, and quality meet your expectations.
- Adjust Settings: Make any necessary adjustments to your printer settings, such as print quality and paper type.
Print in Batches
- Batch Printing: Print your invitations in small batches, especially if you’re using an inkjet printer. This helps prevent smudging and allows you to monitor the quality.
- Let Dry: Allow the printed invitations to dry completely before handling them to avoid smudging.
Cut to Size
- Trim: Use a paper trimmer to cut your invitations to the desired size. Ensure that all edges are clean and straight.
- Add Layers: If your design includes multiple layers (such as a backing card or decorative overlay), use glue or double-sided tape to assemble them.
Step 5: Add Finishing Touches
Embellishments
- Ribbon or Twine: Wrap ribbon or twine around your invitations for a polished look. Secure with a small knot or bow.
- Wax Seals: Use wax seals for an elegant, traditional touch. These can be applied to the invitations themselves or to the envelopes.
Envelope Liners
- DIY Liners: Create your own envelope liners using patterned paper or cardstock. Cut them to size and glue them inside the envelopes for a surprise pop of color.
Step 6: Address and Send
Addressing Envelopes
- Handwritten: If you have good handwriting, consider addressing the envelopes by hand using a calligraphy pen for a personal touch.
- Printed Labels: For a more polished look, print address labels in a font that matches your invitations.
Postage
- Weigh Invitations: Take a sample invitation to the post office to determine the correct postage. Oversized or heavy invitations may require additional postage.
- Decorative Stamps: Choose decorative stamps that match your wedding theme or color scheme for an extra special touch.
Final Thoughts
DIY wedding invitations are a beautiful way to showcase your creativity and add a personal touch to your wedding. By following these steps, you can create stunning, professional-looking invitations that reflect your unique style—without the high price tag of custom printing.
Remember to start early, take your time, and enjoy the process. After all, your invitations are the first glimpse your guests will have of your wedding day, so make them as special and personal as the celebration itself. Happy crafting!


