How Do I Start Planning My Wedding?
Share
So, you’re engaged (congrats!) and you’ve probably already been asked 15 times if you’ve “picked a date.” But what if you haven’t even figured out what you’re doing yet—never mind when? If you’re feeling overwhelmed by all the wedding planning checklists, Pinterest boards, and expectations, take a deep breath.
This is your starting point. As a wedding product creator and former bride who’s helped thousands of Type A brides get organized, I’ve created this guide to walk you through the essential first steps—based on experience and what actually works.
Step 1: Have the Budget Conversation Early
Before you do anything else, sit down with your partner (and anyone else contributing financially) and answer these questions:
-
What’s our total wedding budget?
-
What are our top 3 priorities? (Ex: photos, food, the venue)
-
Are we willing to adjust the guest list to stay on budget?
Once you know what you're working with, allocate rough percentages for major categories. For example:
-
Venue + Catering: 40–50%
-
Photography/Videography: 10–15%
-
Attire: 5–10%
-
Decor + Rentals: 10–15%
-
Entertainment: 5–10%
-
Misc (stationery, gifts, license, etc.): 5–10%
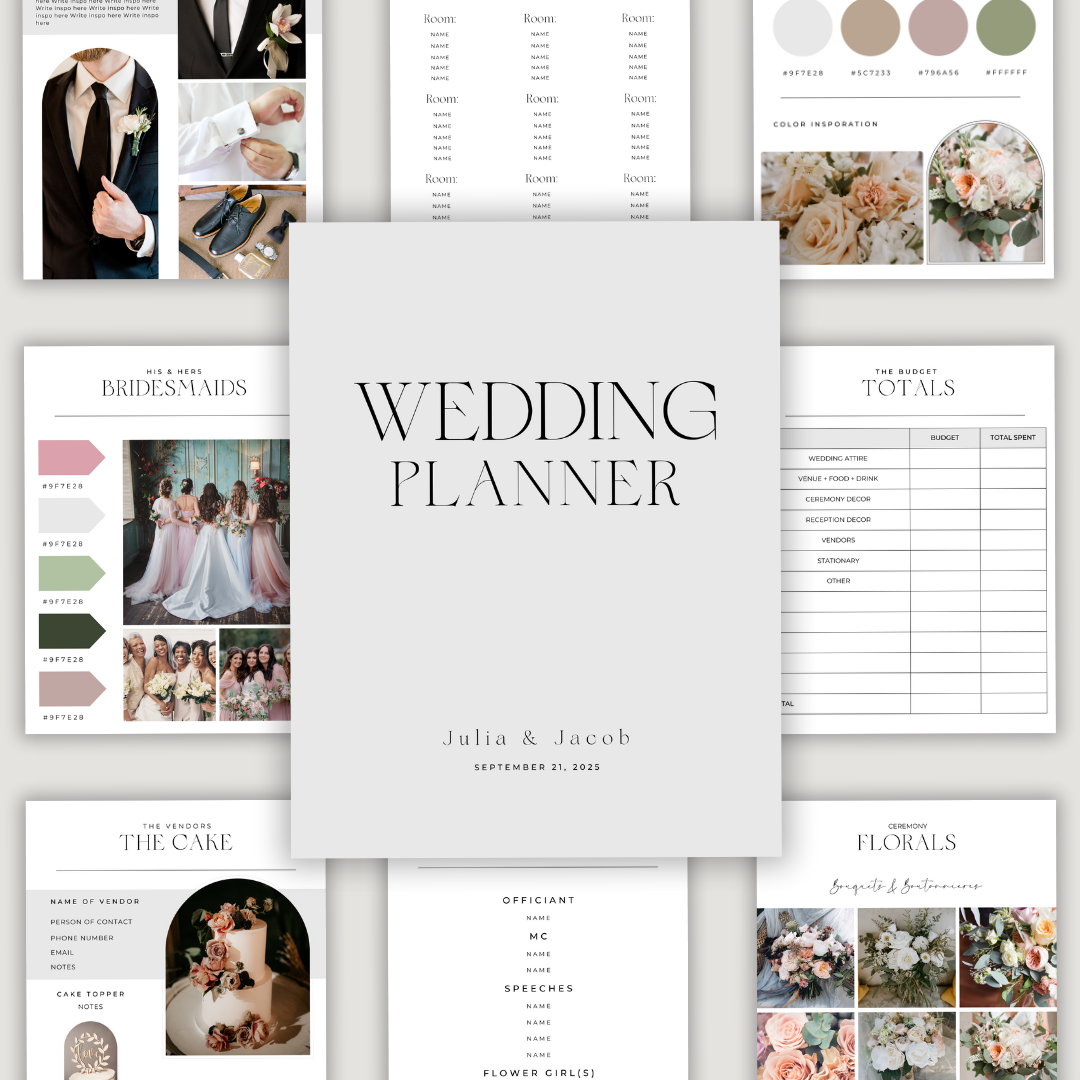
💡 Action Step: Use the budget section in the Wedding Planner to map this out. It includes budget breakdown templates and a plug-and-play spreadsheet.
Step 2: Start Your Guest List (Even If It’s a Draft)
Your guest count affects everything from venue capacity to catering quotes. Create a rough draft early, even if you plan to adjust it later. Use categories like:
-
Must-haves (family, wedding party)
-
Close friends
-
Extended family
-
Plus-ones + coworkers
💡 Action Step: Start your guest list tracker with name, contact info, and RSVP status. The Wedding Planner includes a customizable tracker that also helps you plan your seating chart later.
Step 3: Choose Your Season, Then Your Venue
You don’t need an exact date right away—but choosing your ideal season or month helps you narrow down your venue search. Popular venues (especially in summer and fall) book 12–18 months in advance.
When venue hunting, consider:
-
Indoor vs. outdoor options (weather backup plan!)
-
Capacity and flow
-
Location + accessibility for guests
-
Vendor restrictions (do they require you to use in-house catering?)
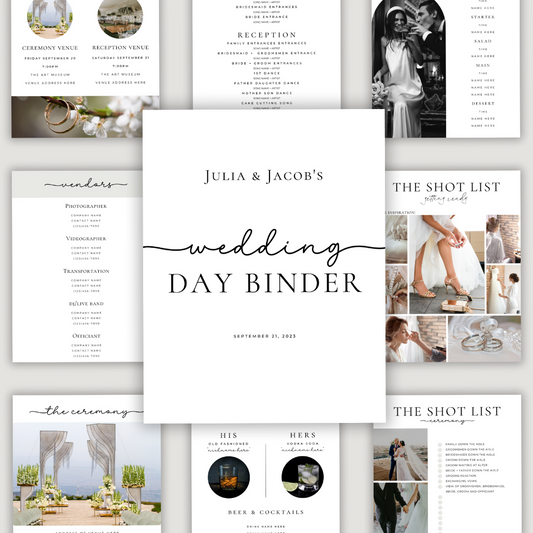
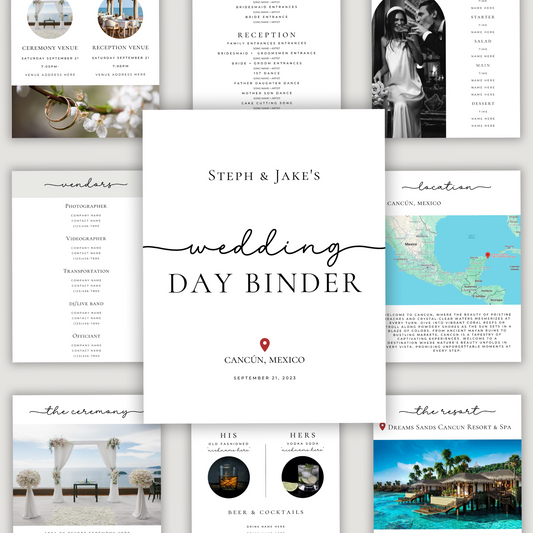
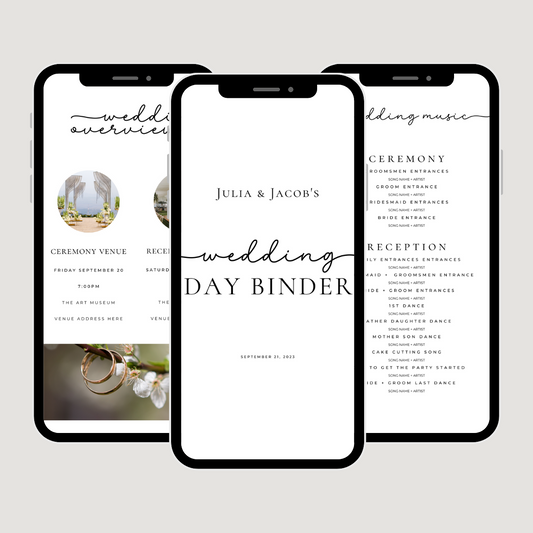
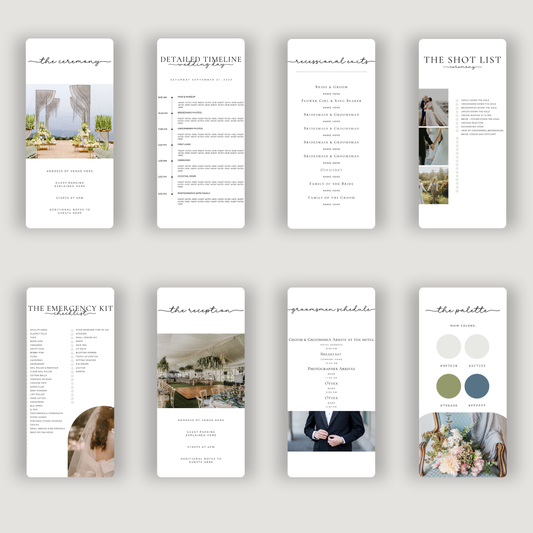
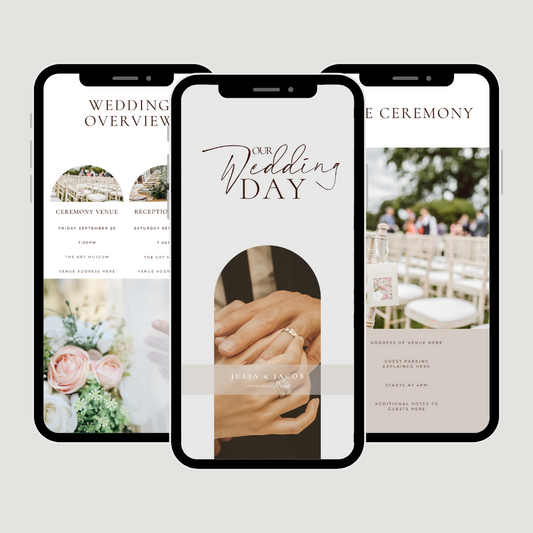
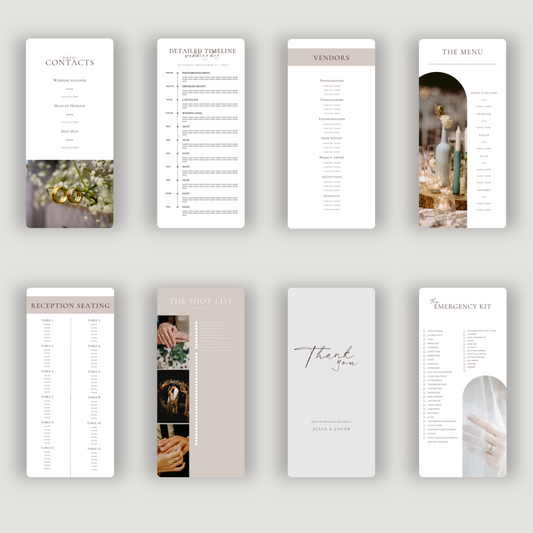
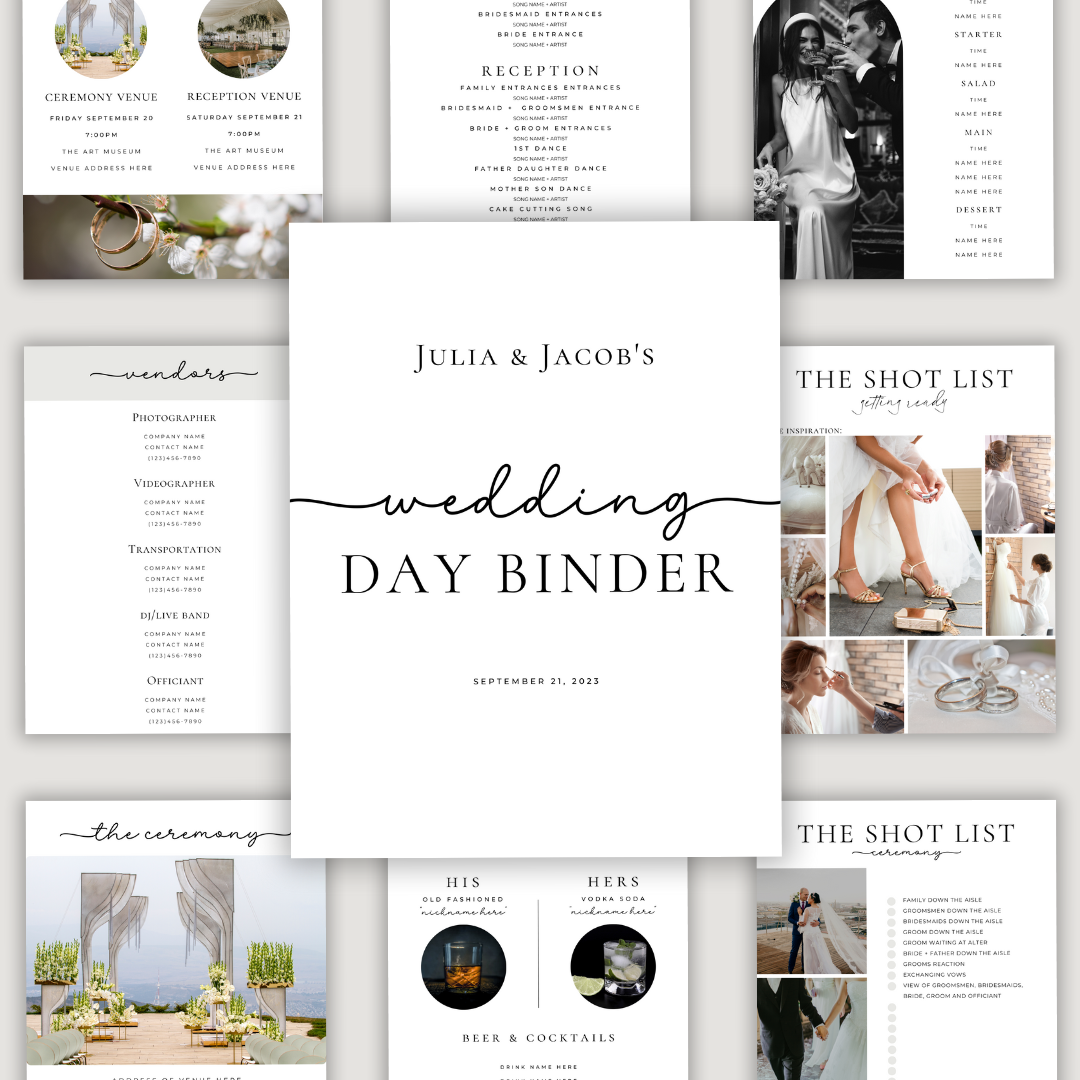
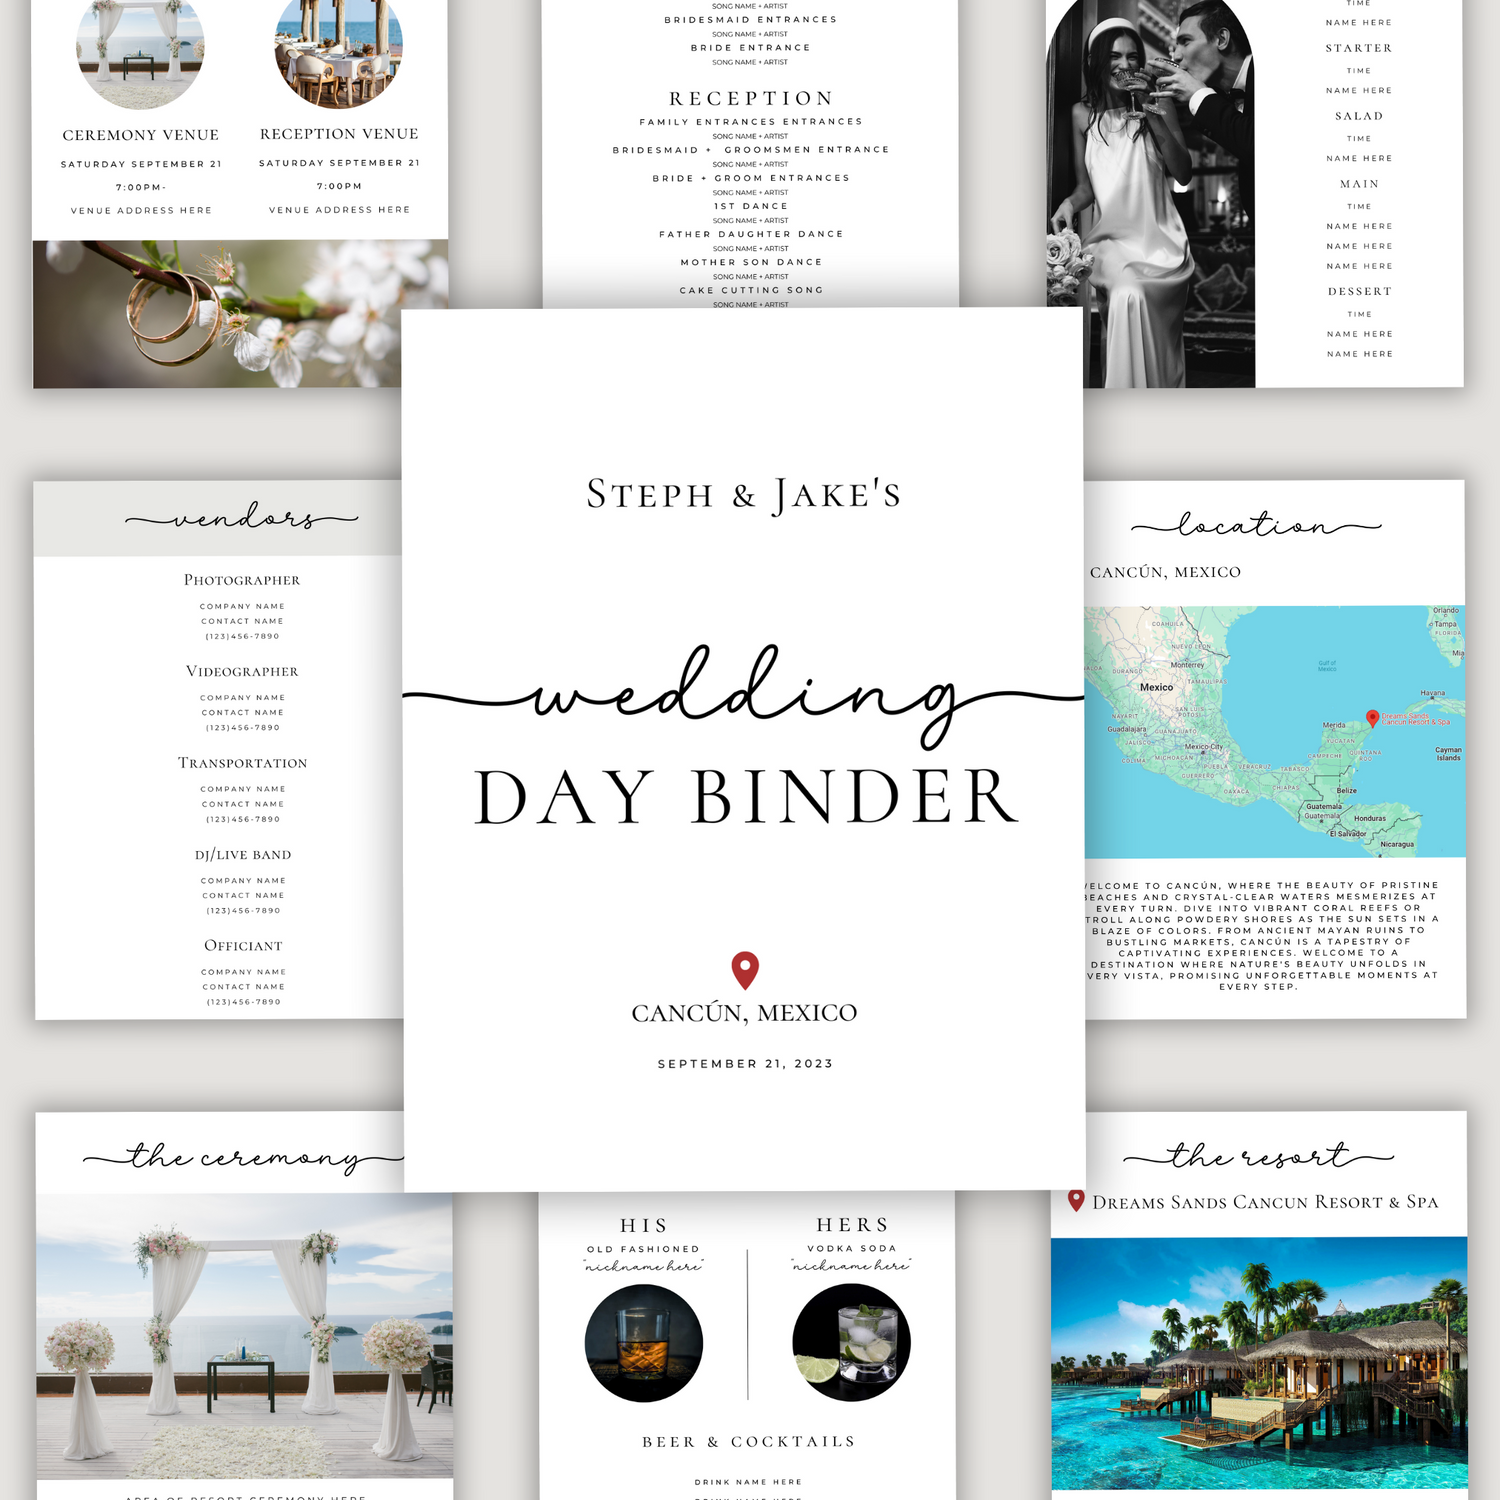
💡 Action Step: Tour at least 3 venues and track questions/notes in the Wedding Day Binder. It has a venue comparison chart to help you choose without second-guessing.
Step 4: Create a Planning Timeline That Matches Your Schedule
Not every wedding takes 12 months to plan. Some take 18. Some take 3. Whatever your timeline looks like, it helps to have structure.
💡 Action Step: Use the pre-filled master timeline inside the Wedding Planner to know exactly what to do each month—from now until "I do."
Step 5: Start Researching (and Booking) Key Vendors
You don’t need to book everyone at once, but start with these priority vendors:
-
Venue (first!)
-
Photographer/videographer
-
Planner or day-of coordinator (if using one)
-
DJ or band
-
Caterer (if not included with venue)
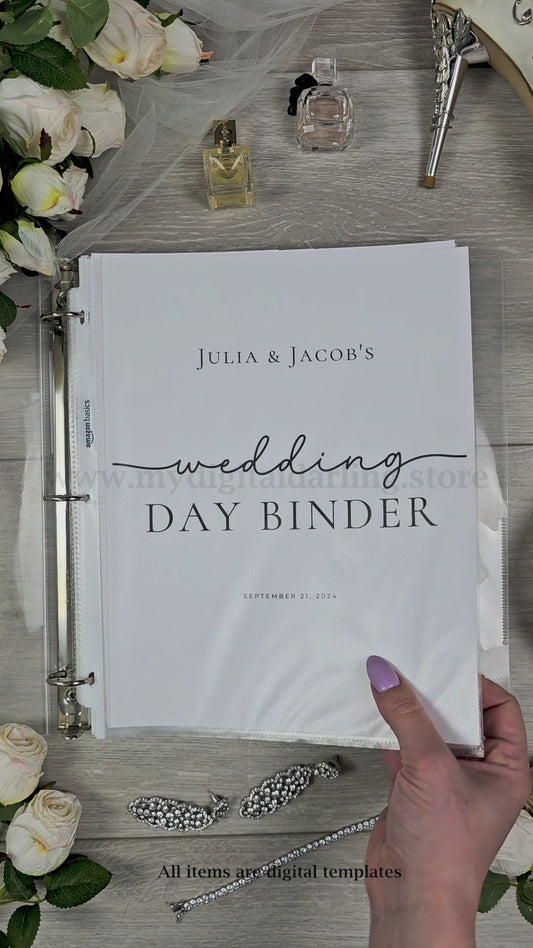
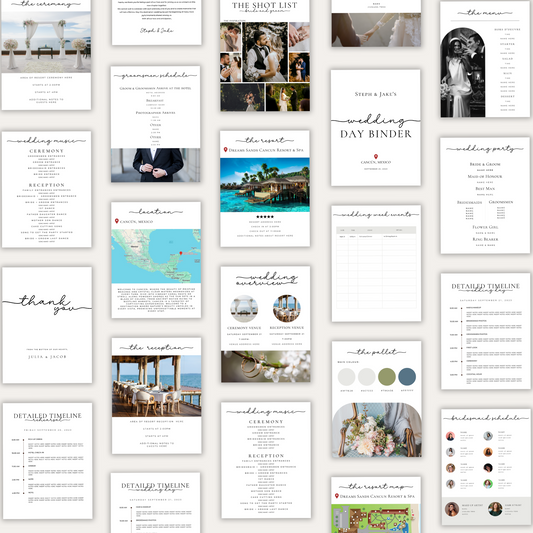
💡 Action Step: Use the Wedding Day Binder to keep track of vendor contact info, quotes, payment due dates, and contracts—all in one place.
Step 6: Stay Organized with the Right Tools
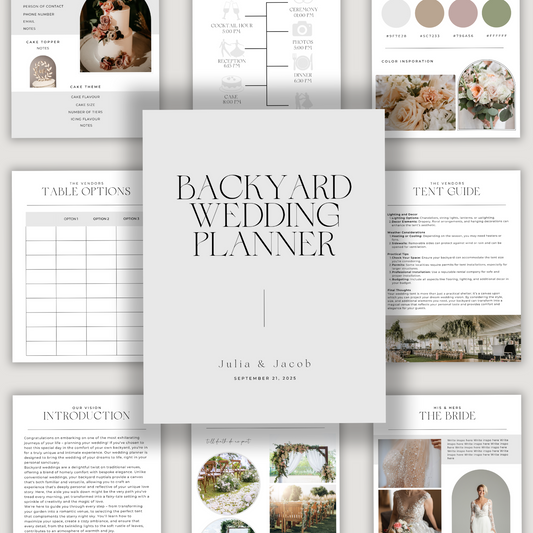
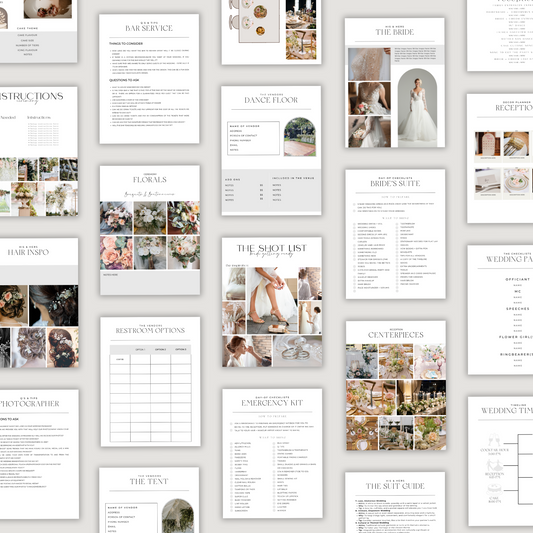
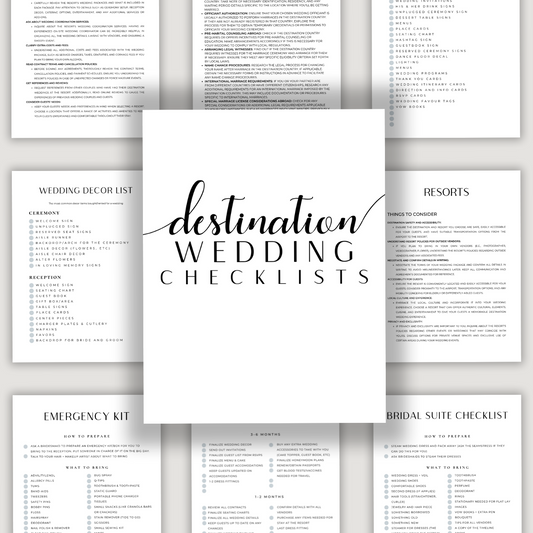
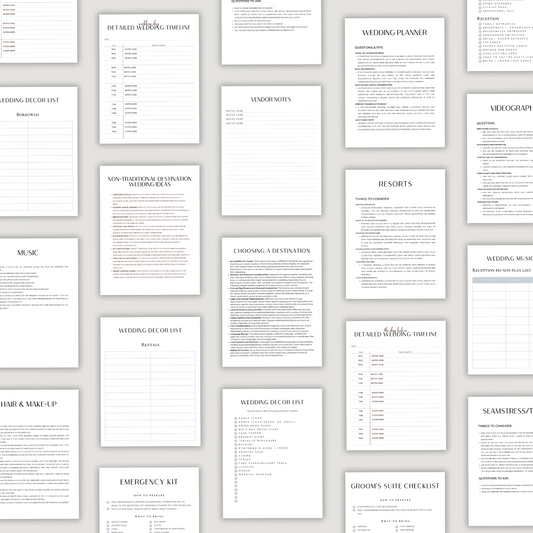
Brides who plan without a full-time coordinator need a system that doesn’t live in 12 different apps or notebooks. That’s why My Digital Darling exists—to help you plan with confidence, from timeline to signage.
💡 Action Step: Start with our Wedding Planner to map out the entire planning process, then add our Wedding Day Binder for the final 30–60 days to keep your big day running smoothly.
Final Thoughts
You don’t have to do everything right away. But starting with your budget, guest list, and venue will build the foundation you need to plan with less stress and more intention. From there, it’s all about working through your checklist—one step at a time.
Want help with that? Browse our tools for Type A brides right here.