How to Make a Wedding Binder: Your Complete Guide
Share
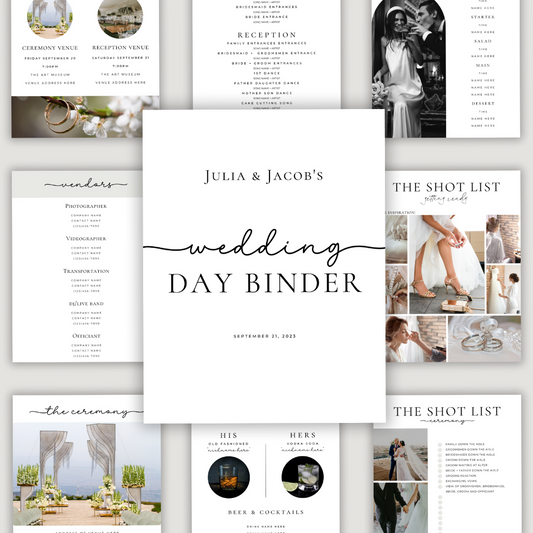
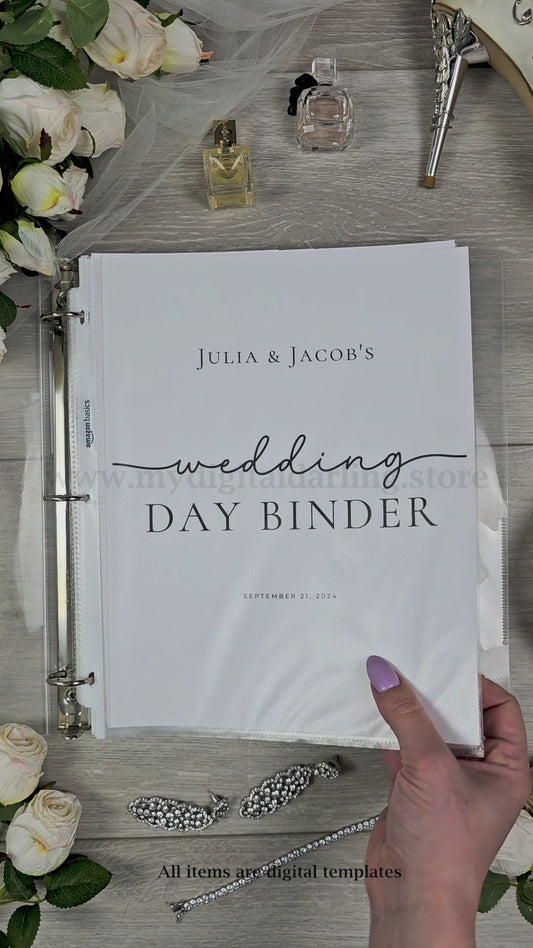
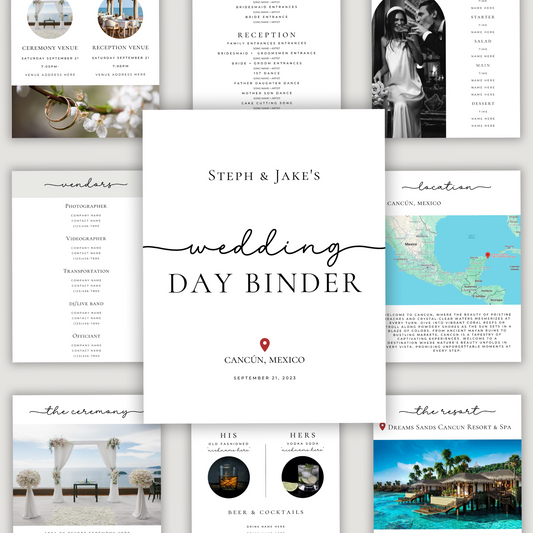
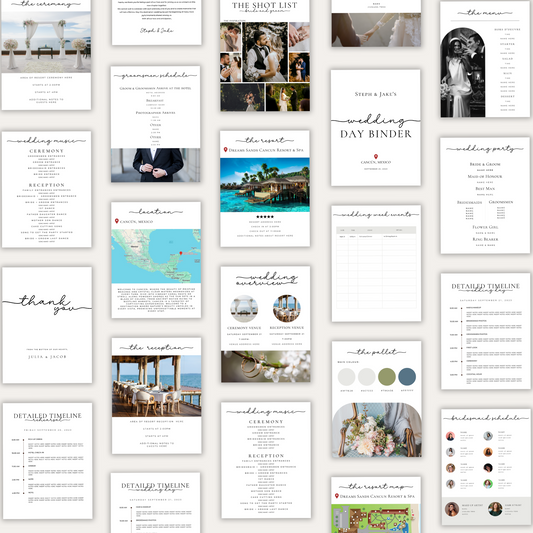
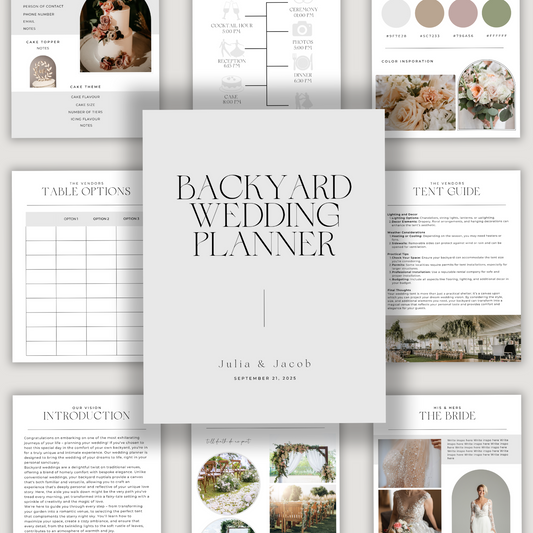
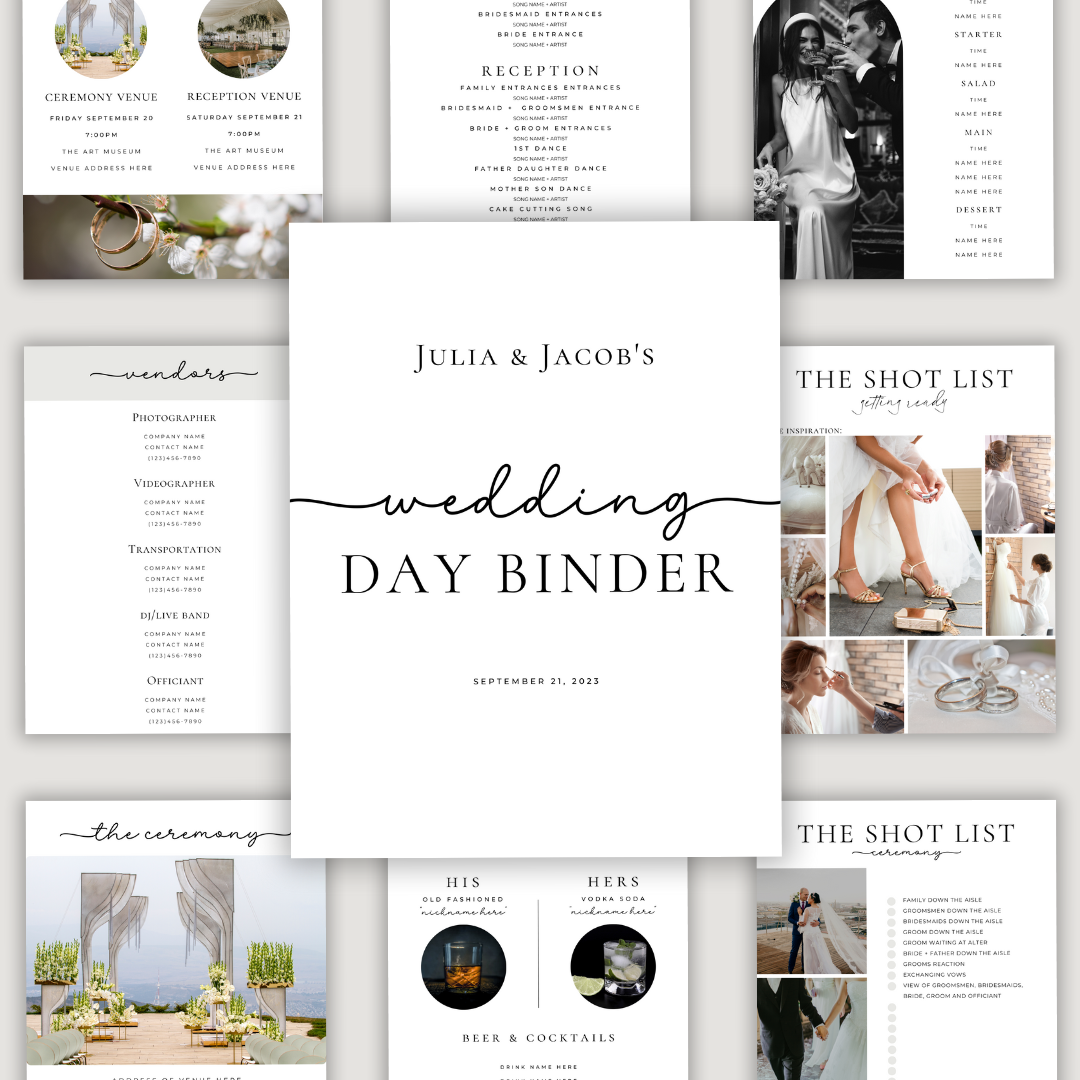
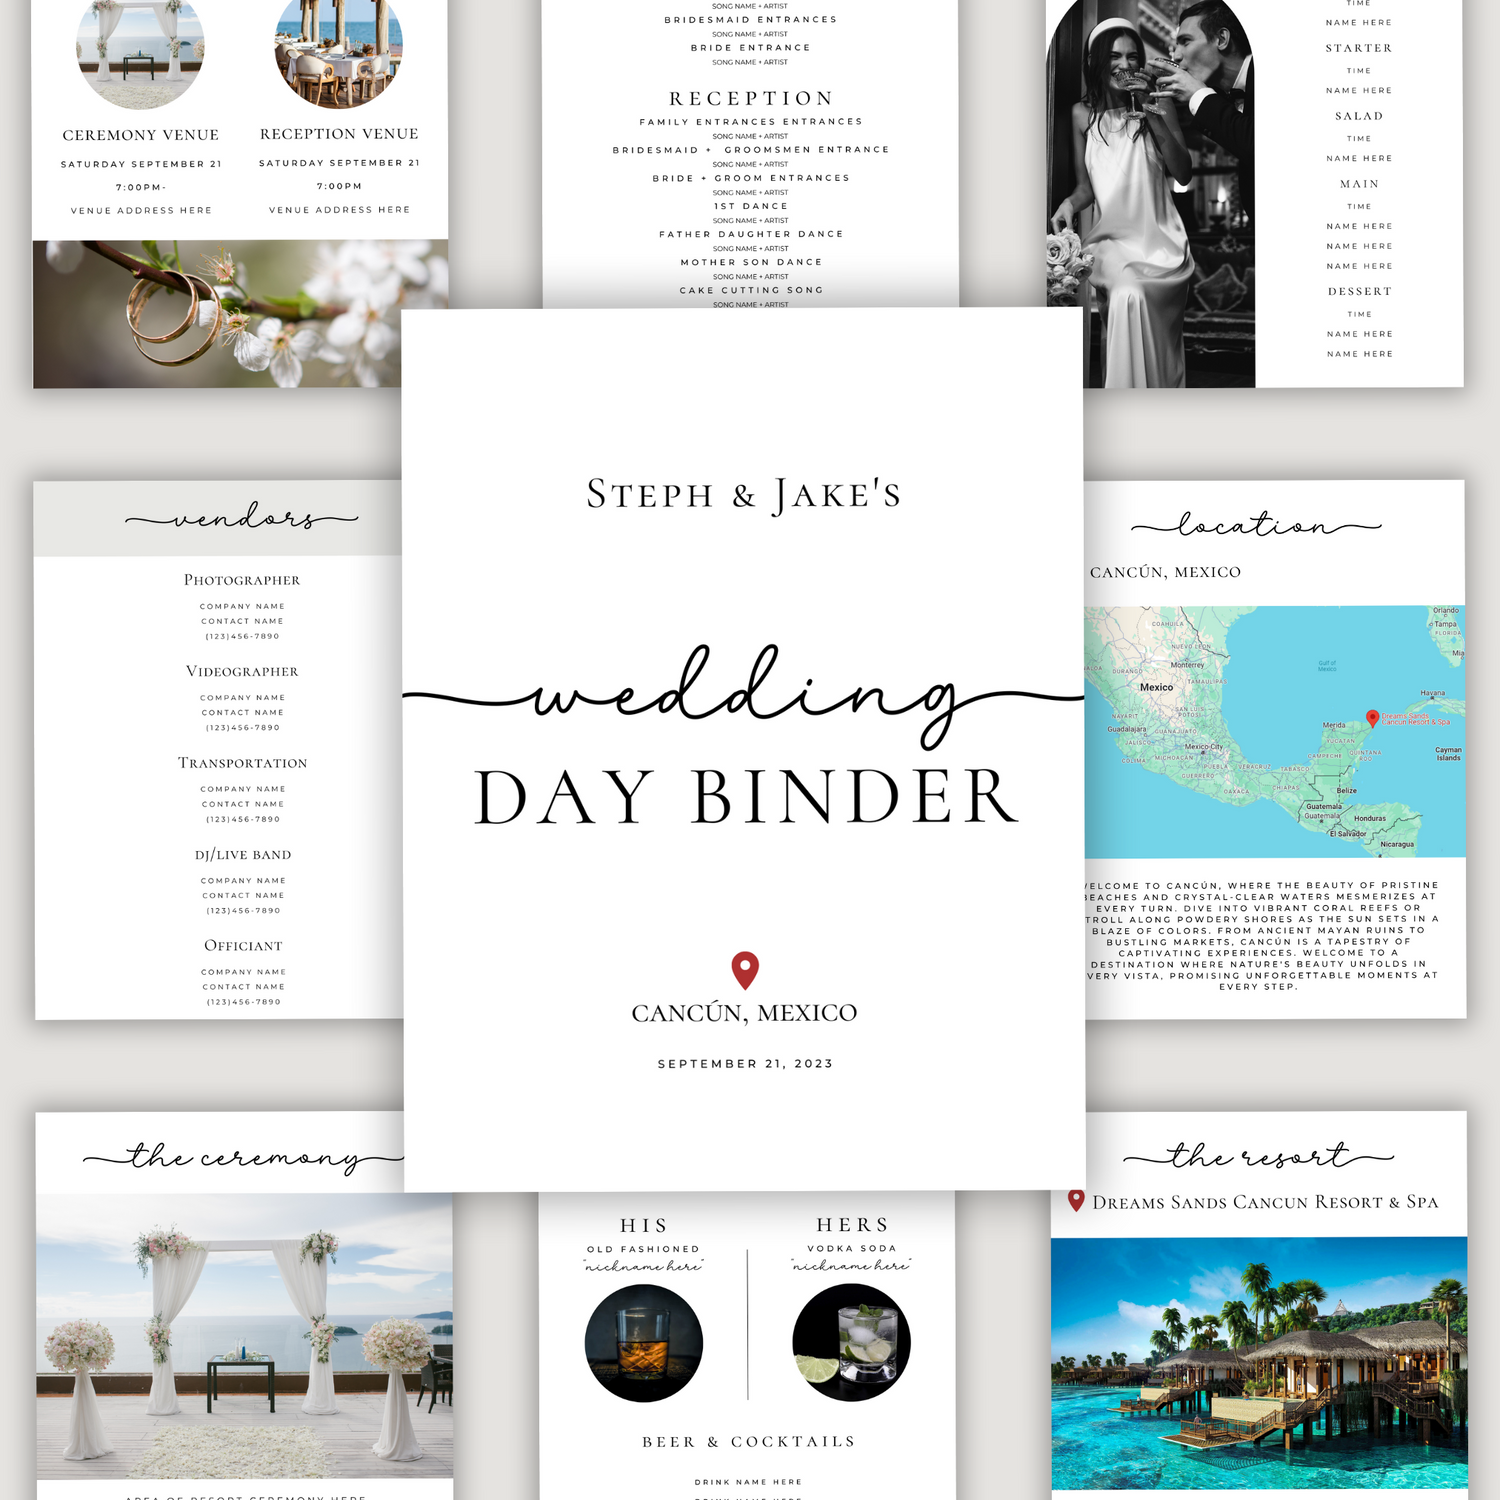
Planning a wedding involves countless details, from managing vendors to keeping track of decor, timelines, and more. A wedding binder is your ultimate organizational tool, ensuring that every aspect of your big day is well-coordinated. In this blog post, I’ll show you how to make a wedding binder using the structure of My Digital Darling’s Wedding Day Binder. We’ll walk through each section you should include, so you’re prepared for everything, from the rehearsal dinner to the last dance.
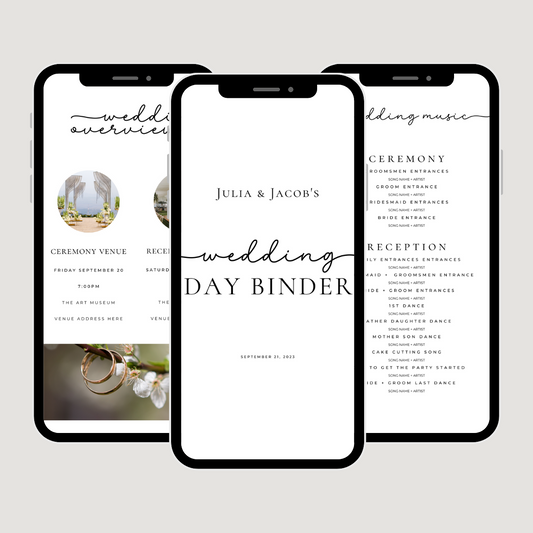
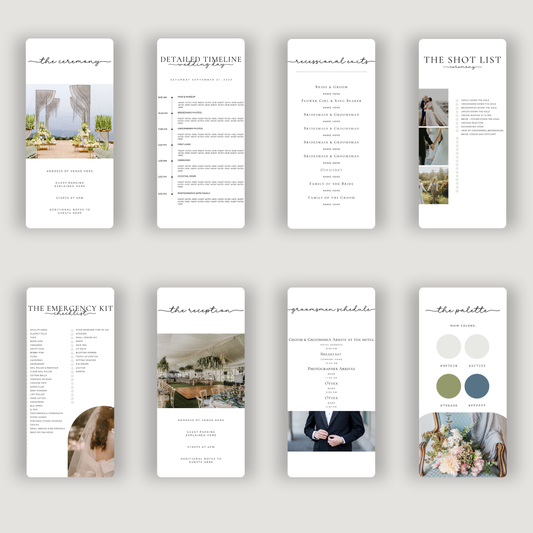
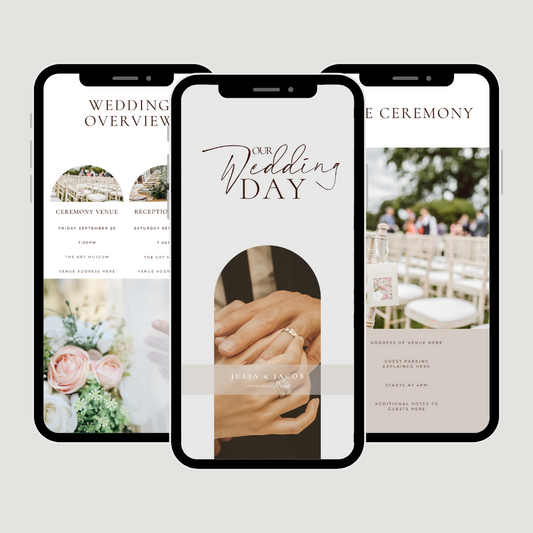
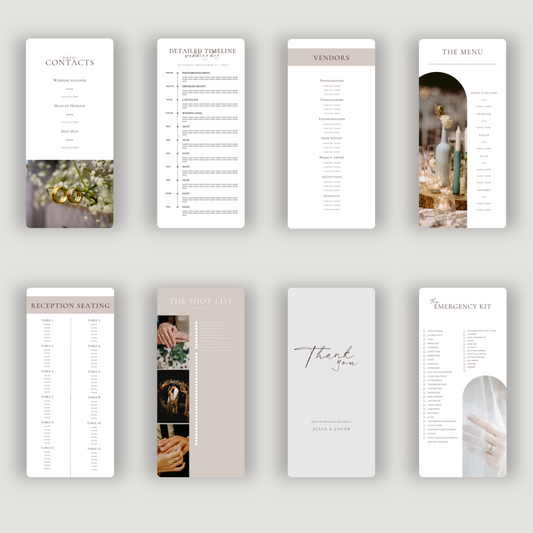
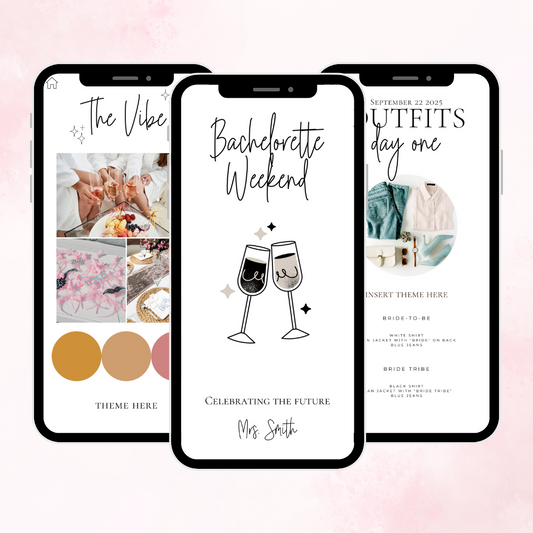
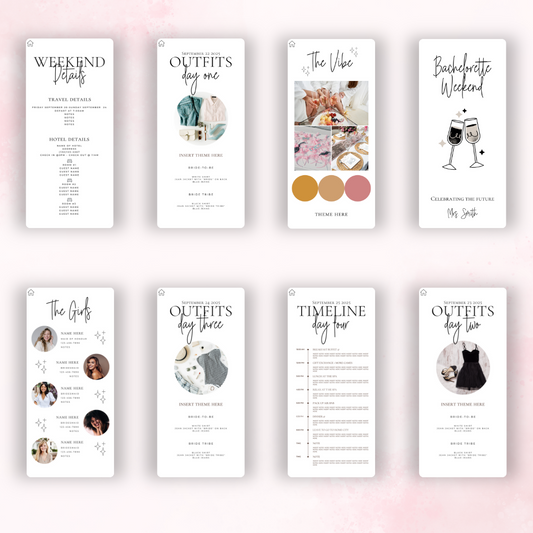
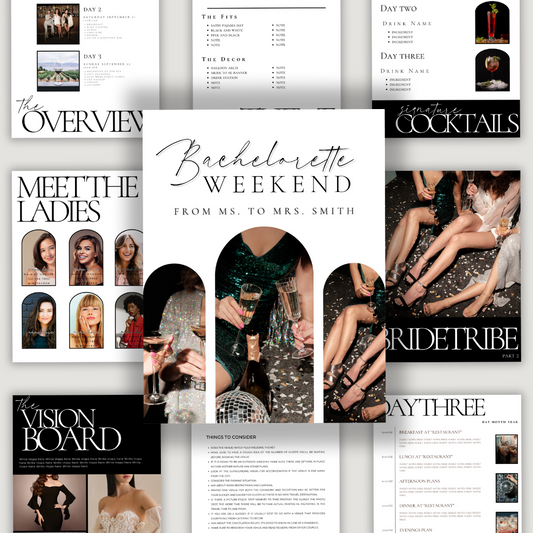
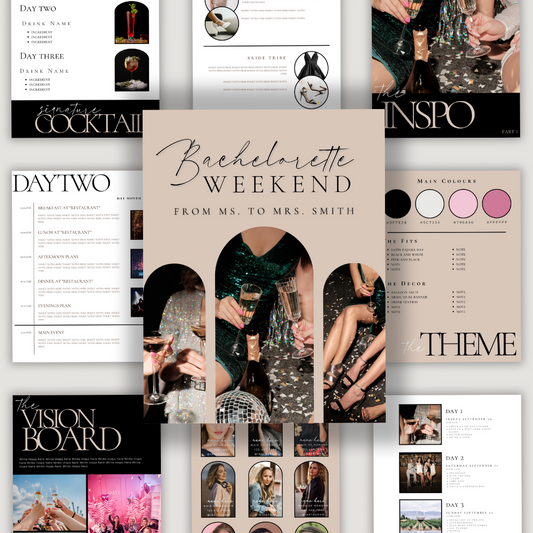
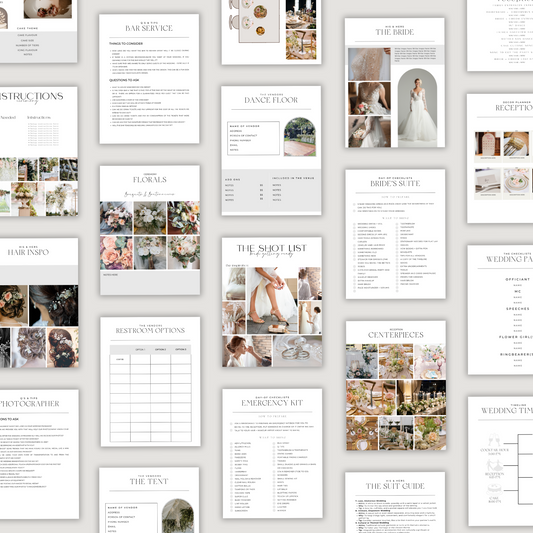
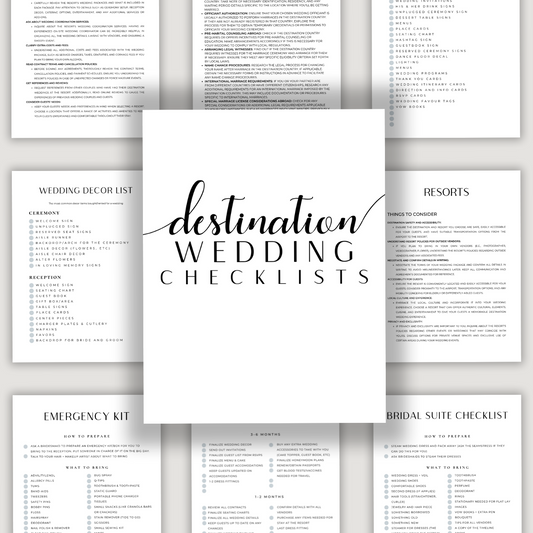
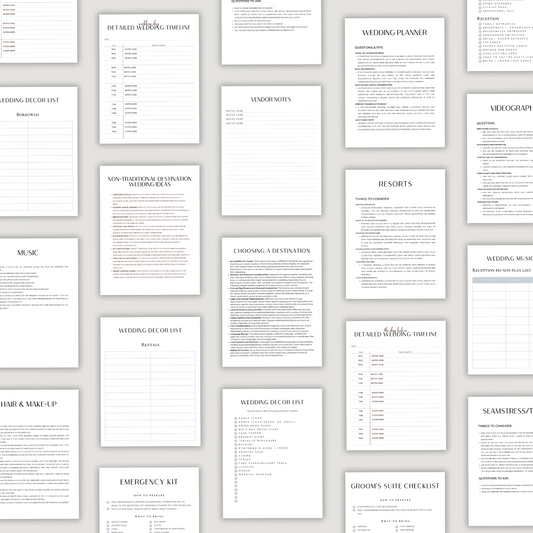
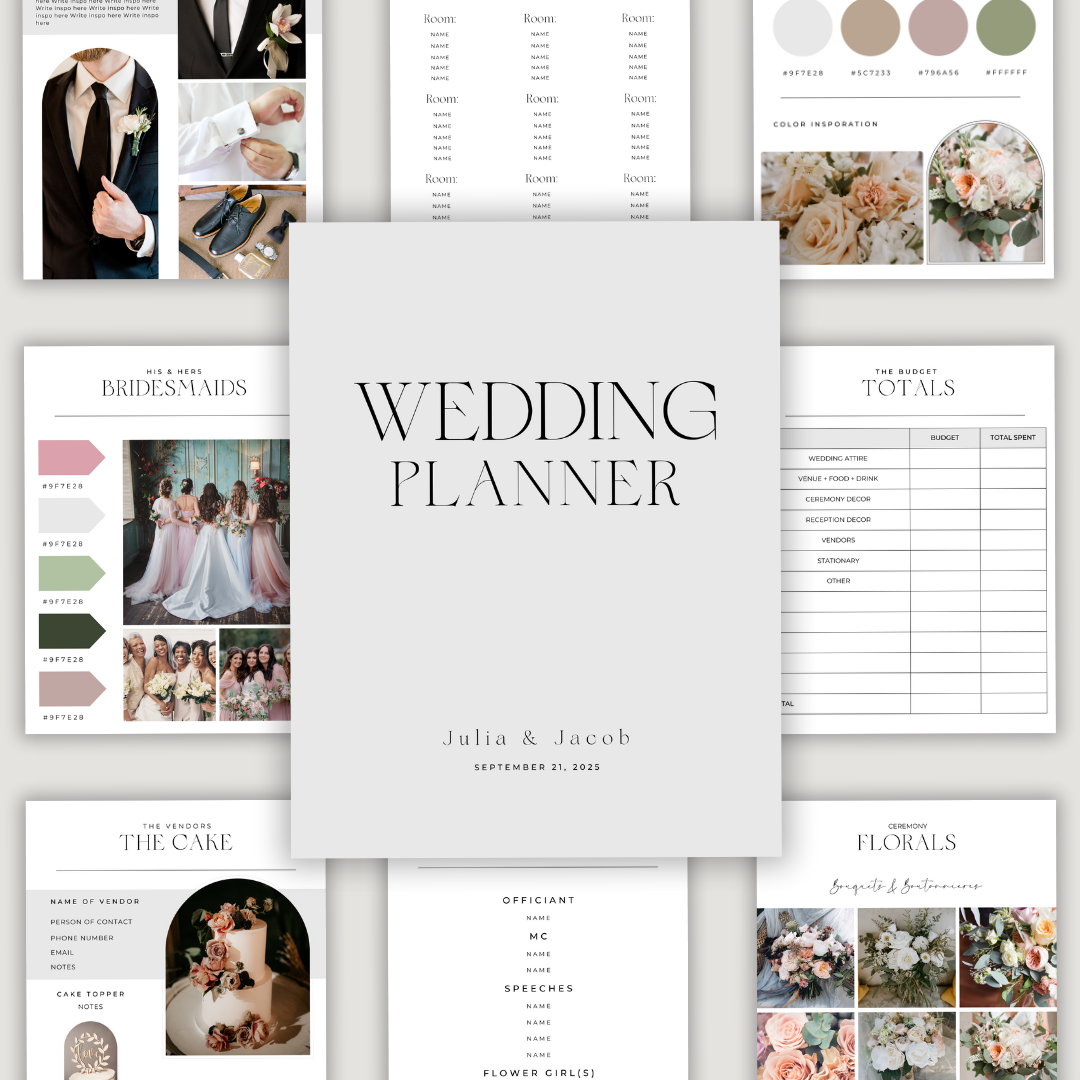
If you’d rather save time, our Wedding Day Binder is a pre-made, done-for-you template that includes all the sections you’ll need to stay organized. It’s fully customizable and will help ensure your wedding day goes off without a hitch.
What to Include in Your Wedding Binder
Here’s a breakdown of the key sections to include in your wedding binder. These categories will help you manage every detail of your wedding, ensuring nothing is left to chance.
1. Important Contact Information
Your wedding binder should begin with a dedicated section for all key contacts. This includes:
- Vendor contact details: Names, phone numbers, and emails for vendors such as the photographer, caterer, DJ, and florist.
- Wedding party contact info: Keep your bridesmaids, groomsmen, and coordinator’s details handy. Having all contact information in one place ensures you can quickly reach the right person if any last-minute issues arise.
2. Venue Details
The venue is central to your big day, and this section is where you store:
- Venue maps and layouts: Include floor plans for your ceremony, reception, and any photography locations.
- Parking and logistics: Details on where guests and vendors should park, along with directions and access points.
3. Schedules and Timelines
A detailed timeline keeps your wedding running smoothly from start to finish. Here’s what to include:
- Day-of timelines: Create schedules for the ceremony, reception, and any additional events such as rehearsal day and the morning after.
- Vendor schedules: Note when each vendor should arrive and depart, ensuring everyone is on the same page.
- Hair and makeup schedule: Allocate time for the bridal party’s preparations.
- Groomsmen schedule: Organize tasks for the groomsmen, from getting ready to their roles during the ceremony.
4. Task Delegation
It’s crucial to ensure that everyone knows their responsibilities on the big day. In this section, assign:
- Wedding party tasks: Delegate who will handle key tasks like managing the guestbook, overseeing setup, or ensuring gifts are collected.
- Coordinator duties: Clearly outline any tasks assigned to your wedding coordinator or day-of helper.
5. Entrances/Exits and Music Choices
The right music and well-timed entrances make a big impact. Include:
- Order of entrances and exits: Plan out how the wedding party, bride, groom, and other key people will enter and exit during both the ceremony and reception.
- Music selections: Record the songs you want played at important moments, such as your walk down the aisle, first dance, and cake cutting.
6. Pre-Filled Checklists
Pre-planning will save you so much time on the wedding day. In this section, use pre-filled checklists for:
- Bridal suite: Everything needed in the bridal suite for getting ready.
- Groomsman suite: A list of essentials for the groom and groomsmen.
- Emergency kit checklist: A list of must-have items, such as sewing kits, stain removers, or band-aids, in case of any day-of emergencies.
7. Photography Shot Lists
Capture all the key moments by organizing your photography:
- Shot lists for each part of the day: Include must-have photos from pre-ceremony preparations to the reception.
- Inspiration photos: Keep any example shots or poses you want to recreate for your wedding album.
8. Menu and Signature Drinks
Planning your menu and drinks is one of the more fun aspects of wedding planning. Include:
- Menu items: List all appetizers, entrees, and desserts.
- Signature drinks: Include your cocktail choices or any special drinks being served at the bar.
9. Decor Inventory
Keeping track of all your decor items will ensure your day is beautifully coordinated. In this section, track:
- Rented, bought, and borrowed items: Make a list of all decor pieces, including table settings, florals, and lighting.
- Setup and take-down instructions: Include detailed notes on how decor should be set up, including mock-up diagrams for table layouts or the ceremony space.
10. Seating Arrangements
Organizing where everyone will sit is a major task. In this section, plan:
- Reception seating chart: Assign seating for your guests, ensuring they know where to sit.
- Table arrangements: Map out how tables will be set up, including family seating and any special guest arrangements.
Why Use a Pre-Made Wedding Binder Template?
While making your own wedding binder can be incredibly rewarding, it can also be time-consuming. That’s where our Wedding Day Binder comes in. This done-for-you template is fully customizable and includes all the essential sections outlined above, so you can simply plug in your own details.
It’s perfect for brides who want to stay organized but may not have the time to create a binder from scratch. Plus, it ensures that no detail is overlooked, giving you peace of mind as your big day approaches.
Final Thoughts
Whether you create your wedding binder from scratch or choose to use a pre-made template like our Wedding Day Binder, having an organized plan will make your wedding day so much smoother. By keeping everything from contacts to decor inventory in one place, you’ll be able to enjoy your special day knowing that all the details are covered.
Happy planning, and congratulations on your upcoming wedding!

